The Settings Module is designed to help an organization manage and keep track of their Users . The Settings module is divided into five sub-modules:
- Users & Roles
- Sharing
- Company
- Hierarchy
- Company Calendar
User Profile
User Profile displays the list of users and roles of the users. It has two categories: User List and User Role
User List
User List displays the list of users in a tabular format. As shown in the image, the below table represents the following nine columns:
- Photo :This column displays the Photo of the User.
- Name :This column displays the Name of the User.
- Labels :This column displays the Label assigned to the user. This label is created in the Master module.
- Username : This column displays the Username of the user.
- Role : This column displays the Role of the user
- Created By :This column displays the user who created the account along with the date on which the user account was created.
- Updated By :This column displays the userwho updated the account details along with the date on which it was updated.
- Multiple Login :This column displays whether the user is allowed multiple logins.
- IP Restriction :This column displays whether the user has IP restrictions applied to the account.
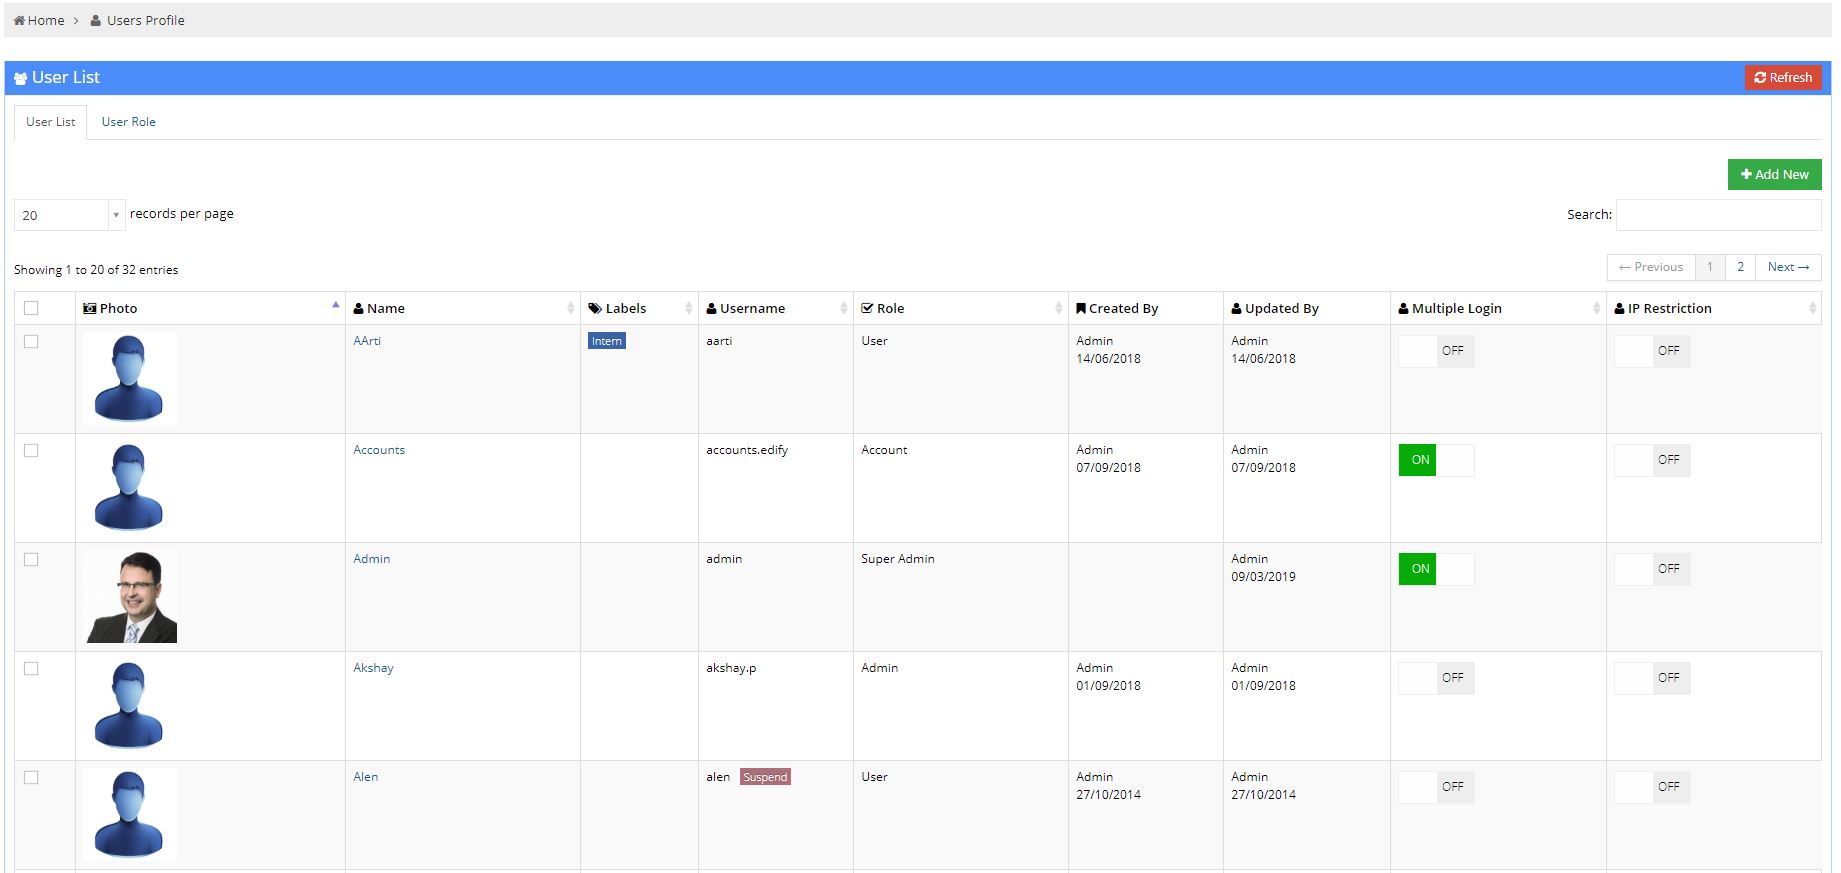
Add New
You can add new users by clicking on Add New button which is given in the top right corner of User Profile page.

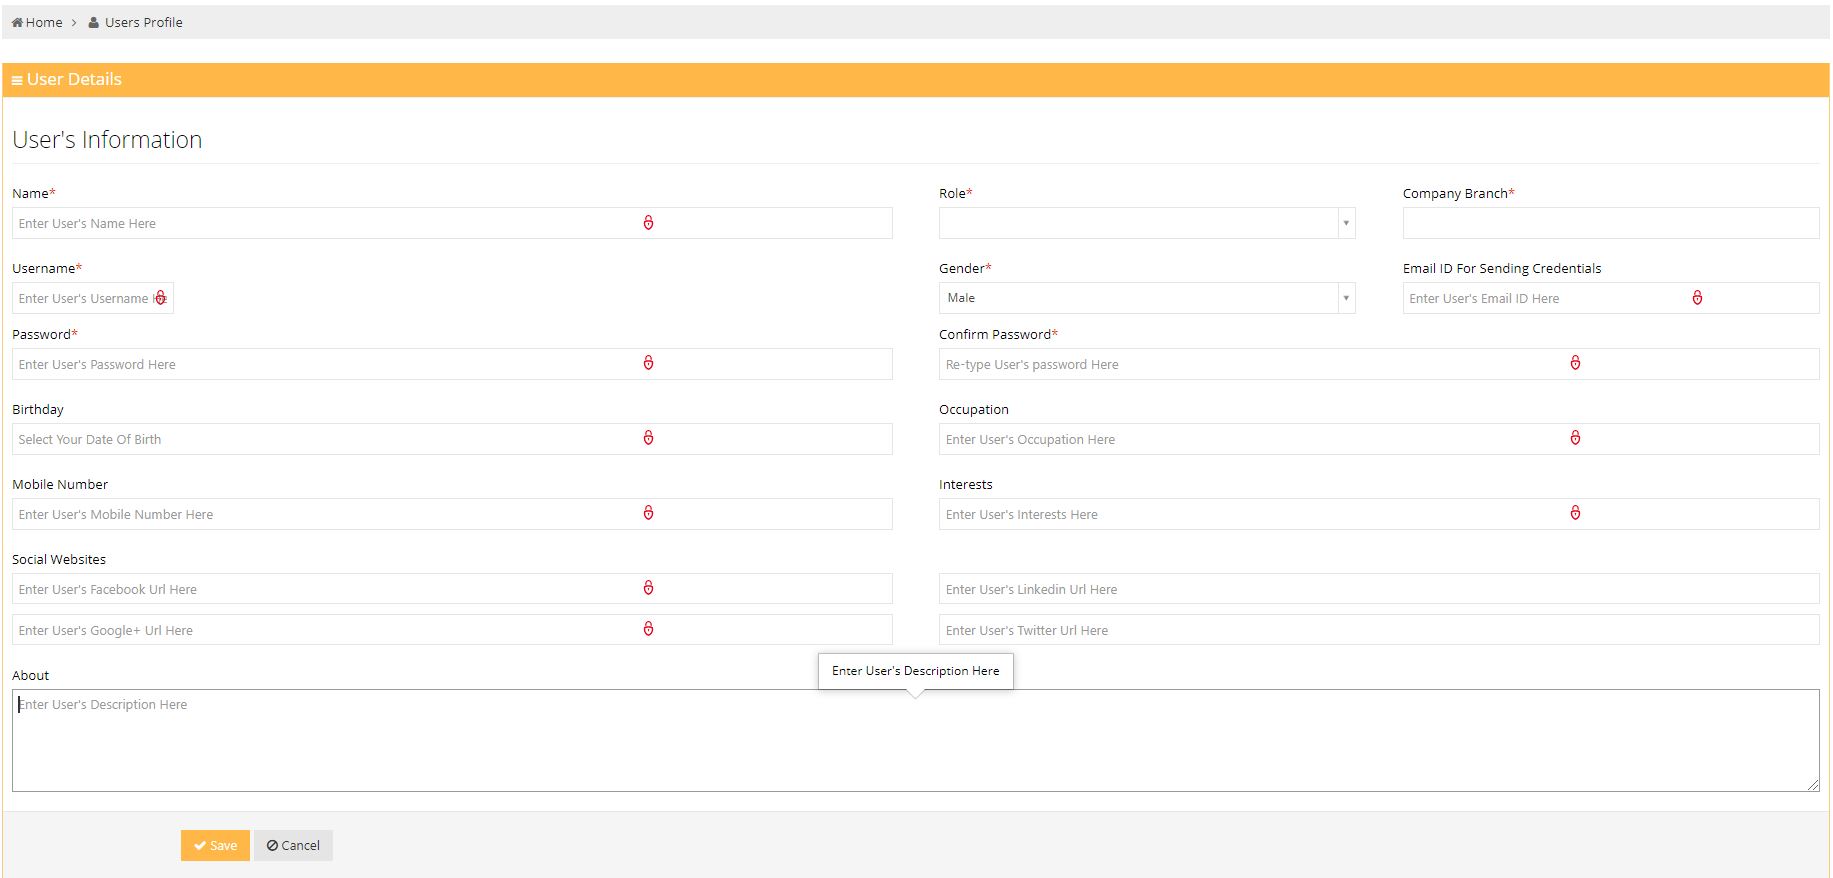
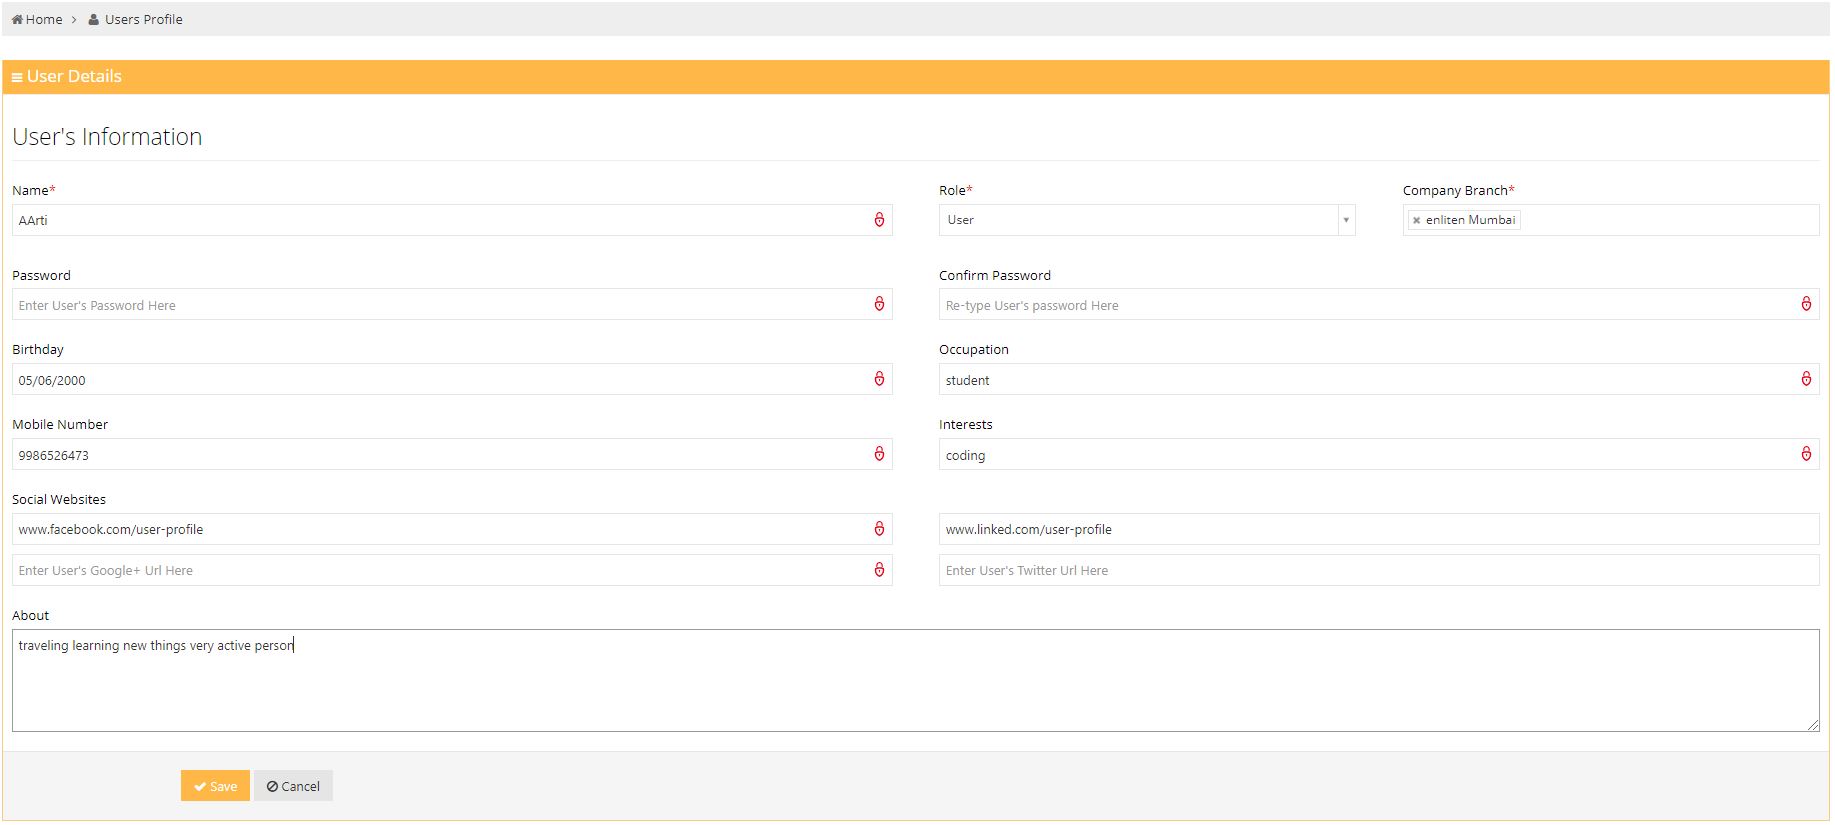
User Detail Form:The add new page has following fields :
- Name :This field represents the name of the user.
- Role :This field represents the role of the user.
- Company Branch :This field represents branch of the company where the user works.
- Username:This field represents the username of the user.
- Gender :This field represents the gender of the user.
- Email Id for Sending Credentials :This field represents user email id for sending credentials.
- Password :This field represents the password of the user.
- Confirm Password :This field verifies user password.
- Birthday :This field represents the birthday of the user..
- Occupation :This field represents the occupation of the user.
- Mobile Number :This field represents the mobile number of the user.
- Interest :This field represents the interested area of the user..
- Social Website :This field represents various links to the user's social media profiles.
- About :This field represents user description.
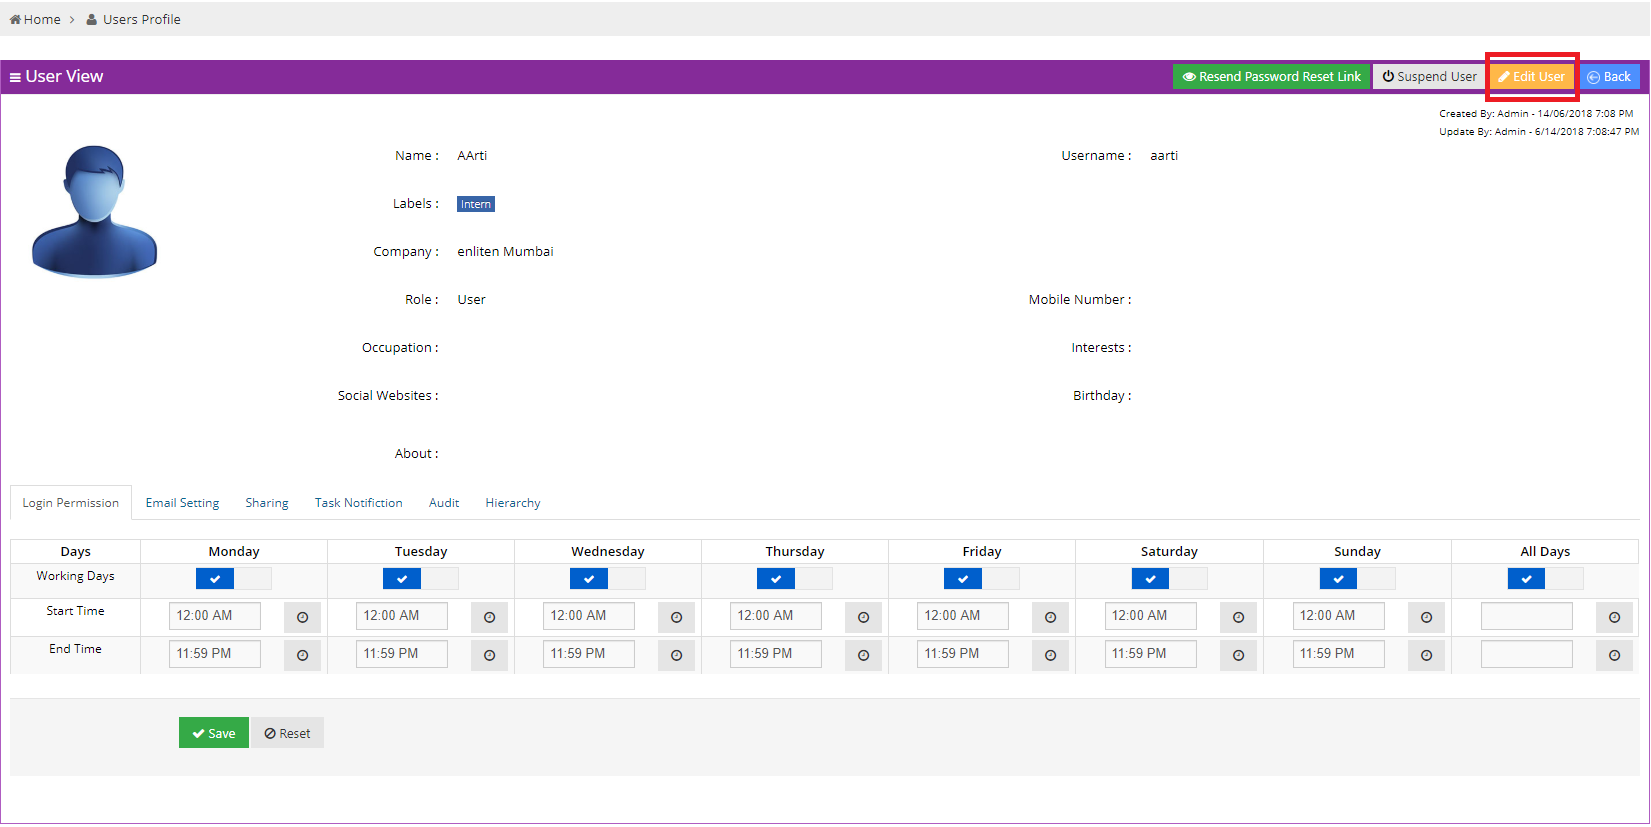
User View
The new User View entry looks exactly like the below image.
- Resend Password Reset Link: This button is given to resend the password reset link to the user throungh an E-mail.
- Suspend User : This button is used to suspend the user's account.
- Back : Here user can go back to the previous page.
- Login Permission : Here user can give access on whichever days they want to and can set certain time limit for that day access.
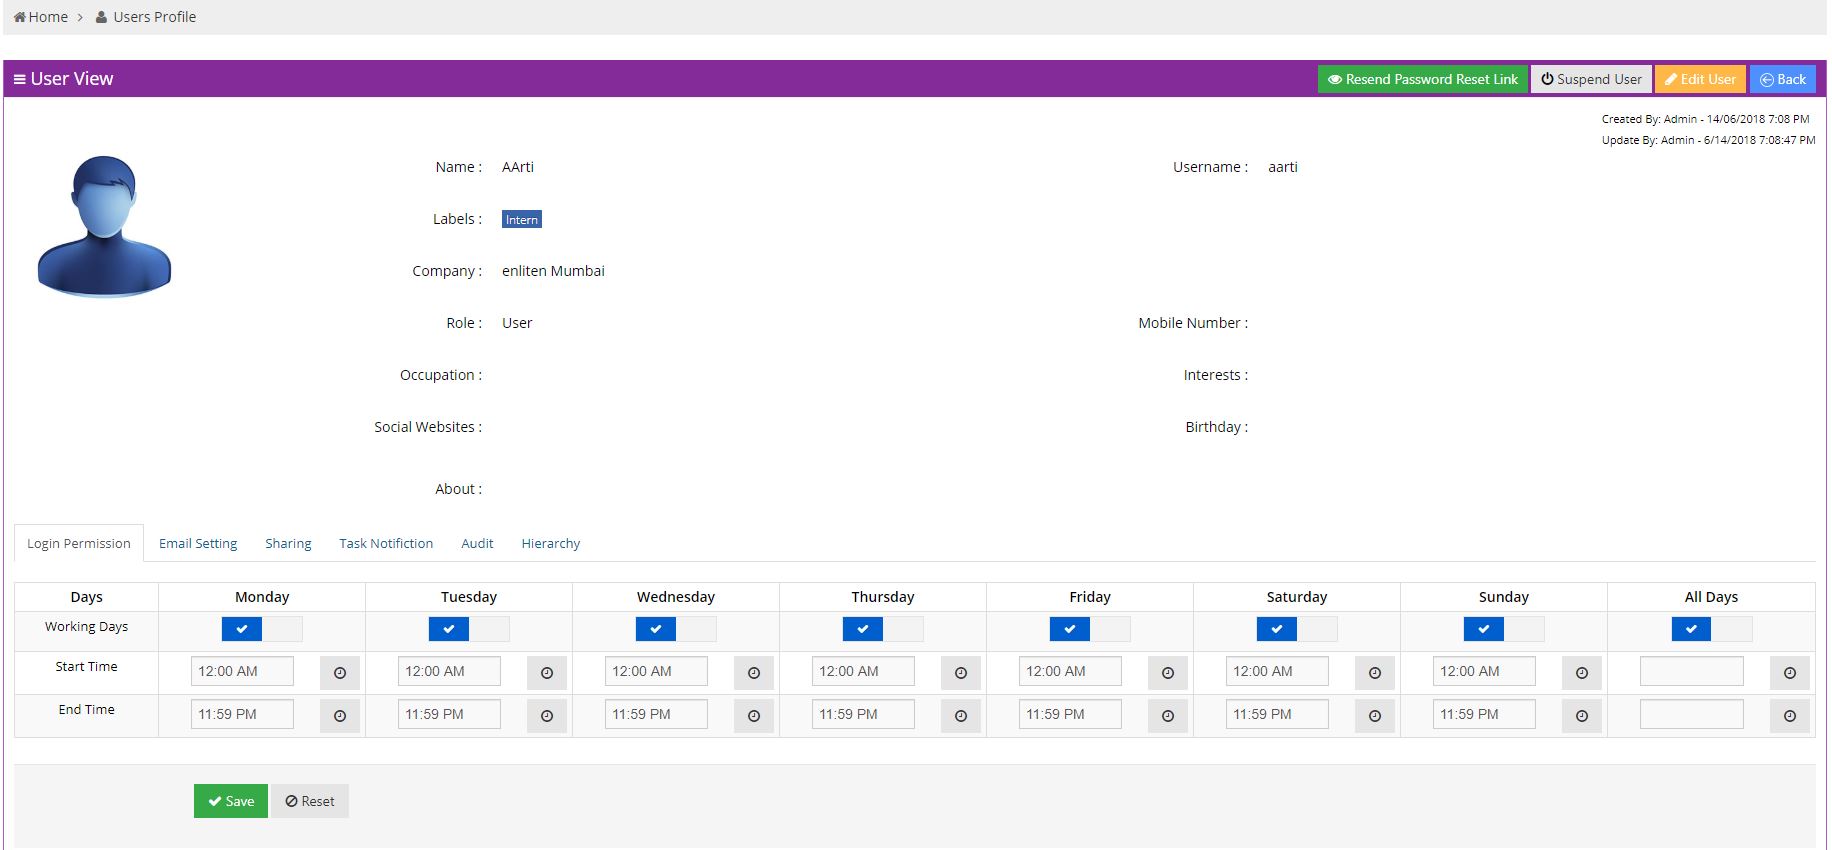
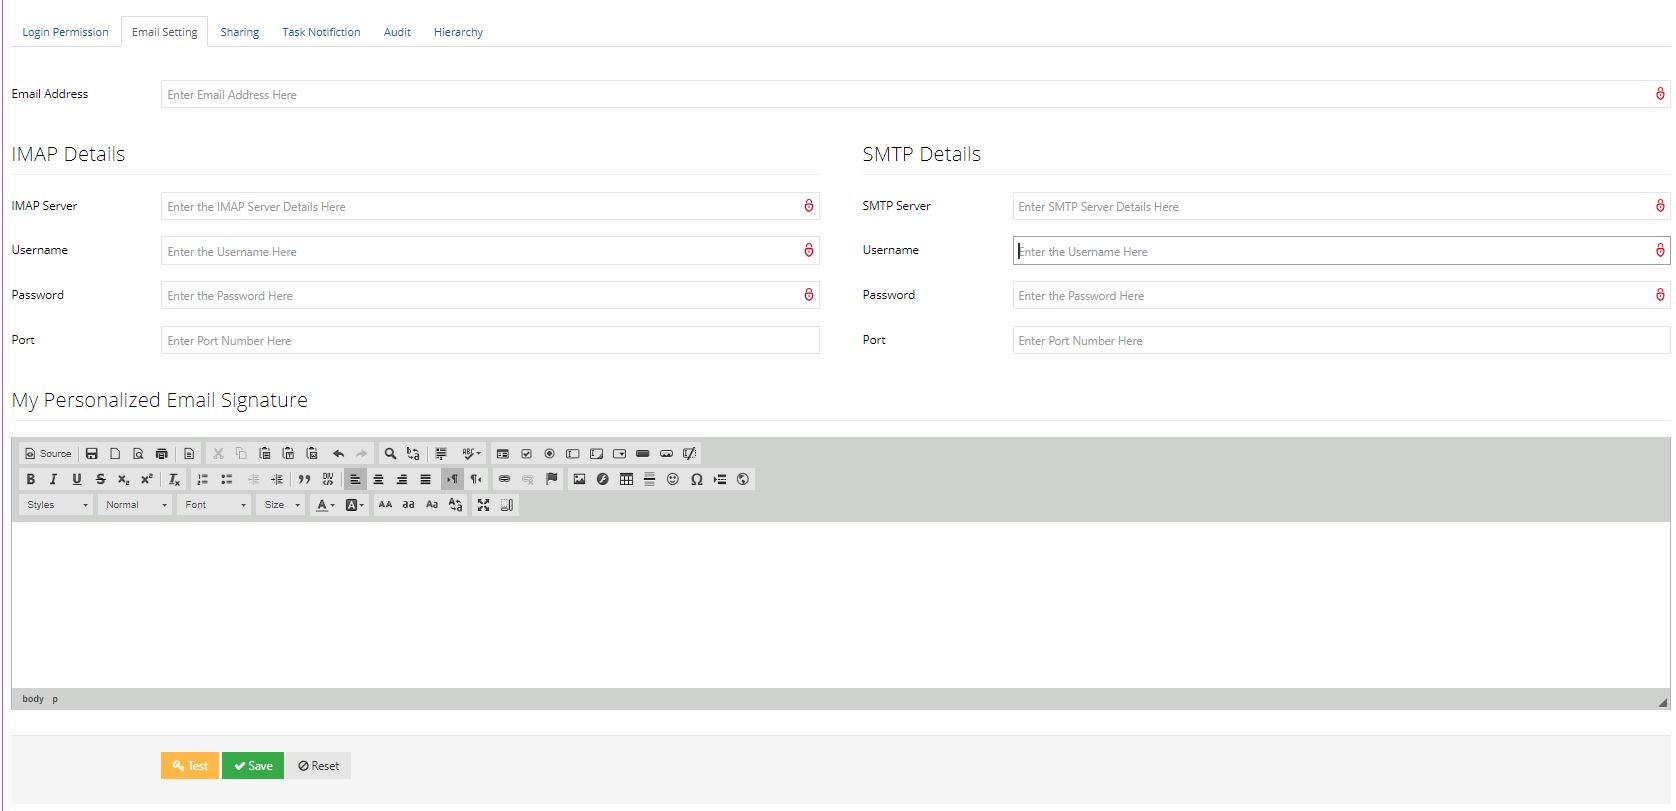
- Email Settings : Here user can enter their email address,IMAP Details,SMTP Details,My Personalized Email Signature for the verification to grant access for the application.
Edit User
You can edit user information by clicking on Edit User button which is given in the top right corner of User Profile page.
Edit user detail form can edit information and can even fill blank fields which have not been filled
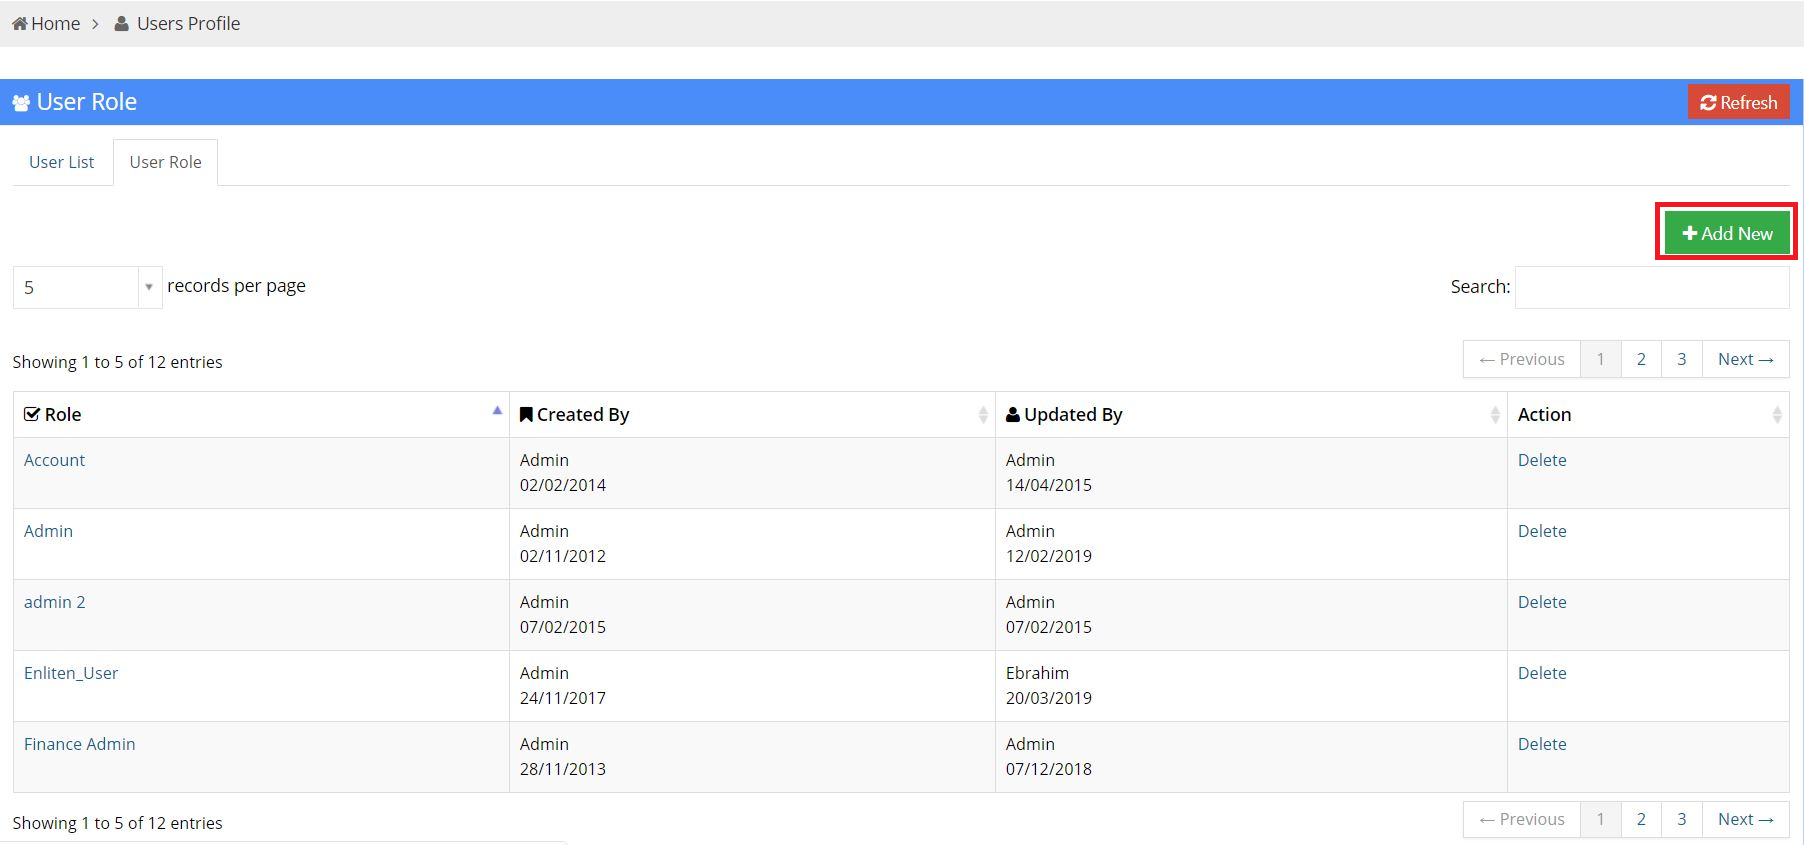
User Role
User Role displays the Role of users. It enlists the role of users in tabular format. As shown in the image below the table represents four columns:
- Role : This column displays the Role of the user
- Created By : This column displays the user who created the account. It also displays the date on which the user account is created.
- Updated By : This column displays the user who last updated the account. It also displays the date on which account was updated.
- Action : This column displays the various actions that can be taken on a record.
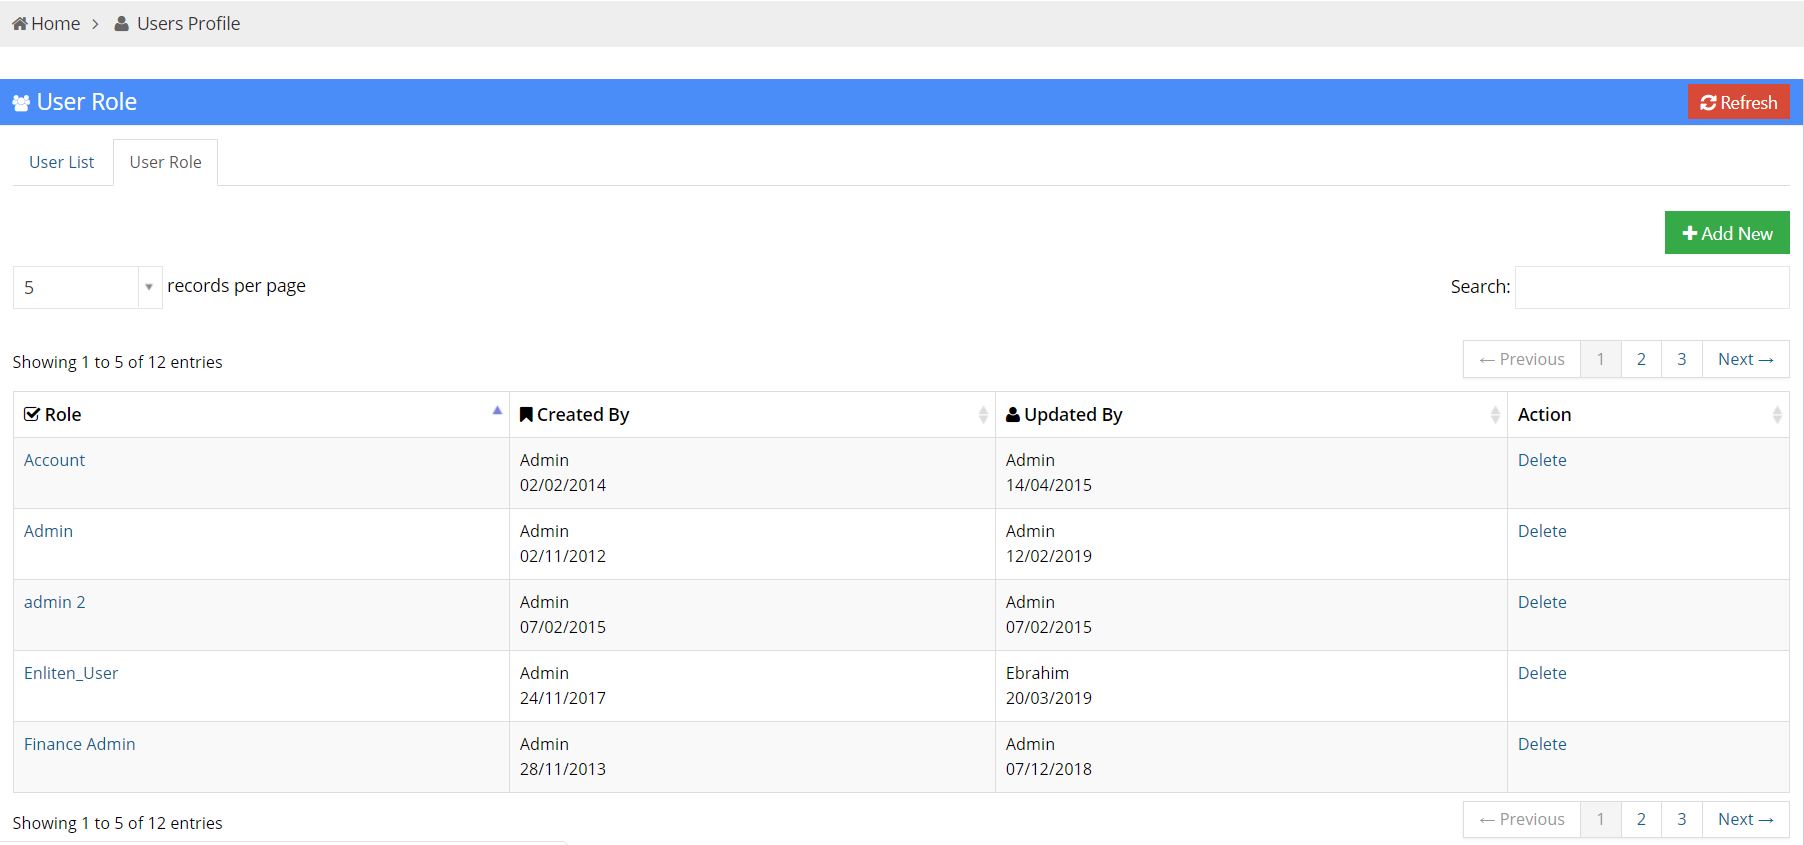
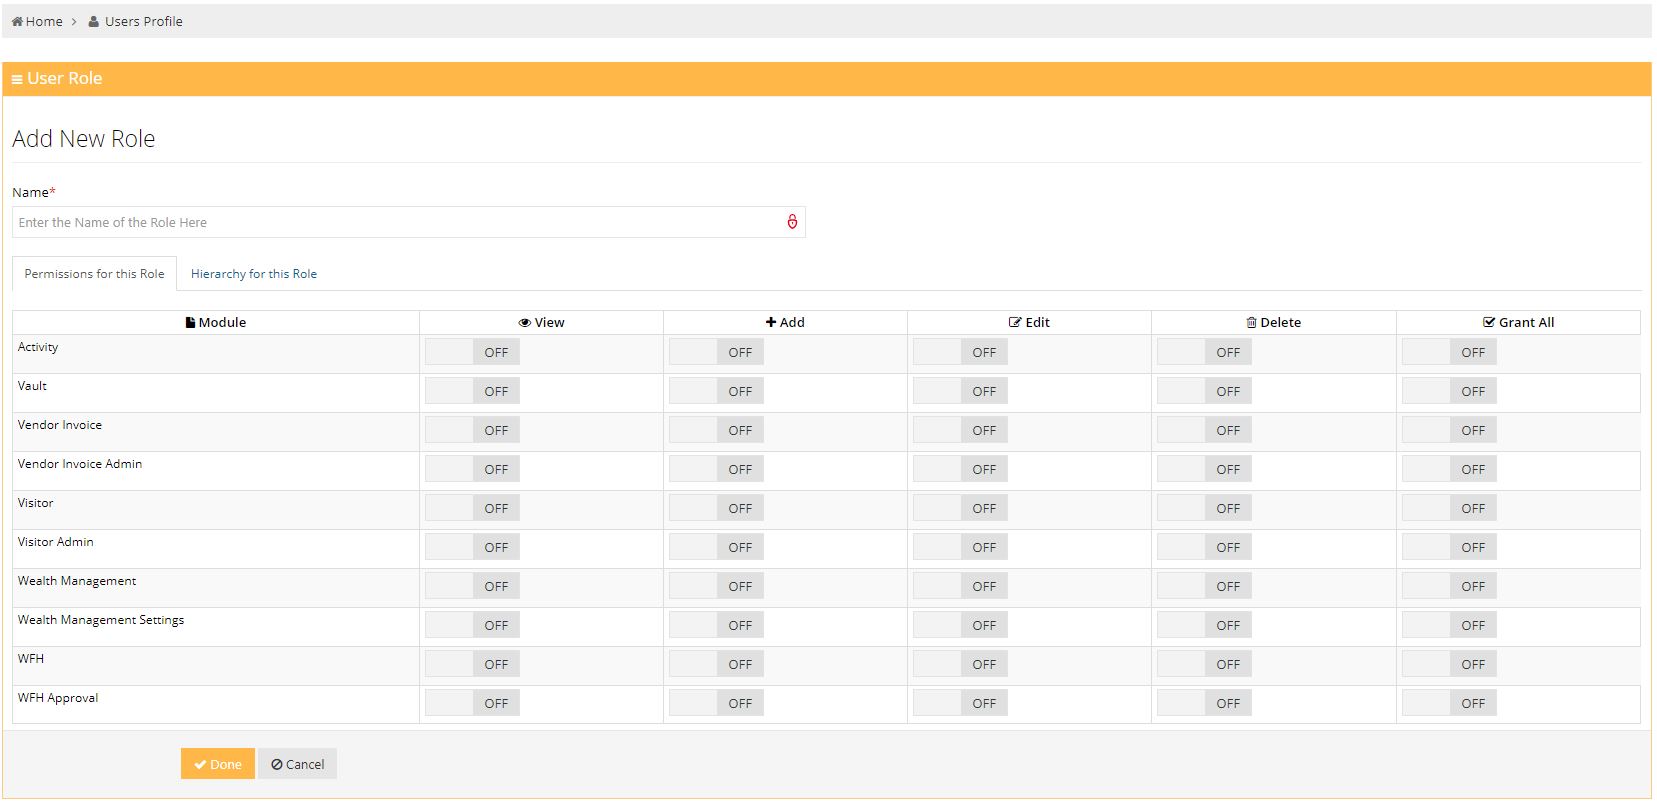
Add New
You can add new roles by clicking on the Add New button. This button is located in the top right corner of User Profile page.
Add new role: You can use the add new role page to give a user access to specific modules only:
- Name : This field requests for the name of the new role.
- Permission for this role : This field gives a user role access to different modules.This can also be used to restrict a user from access to certain modules.
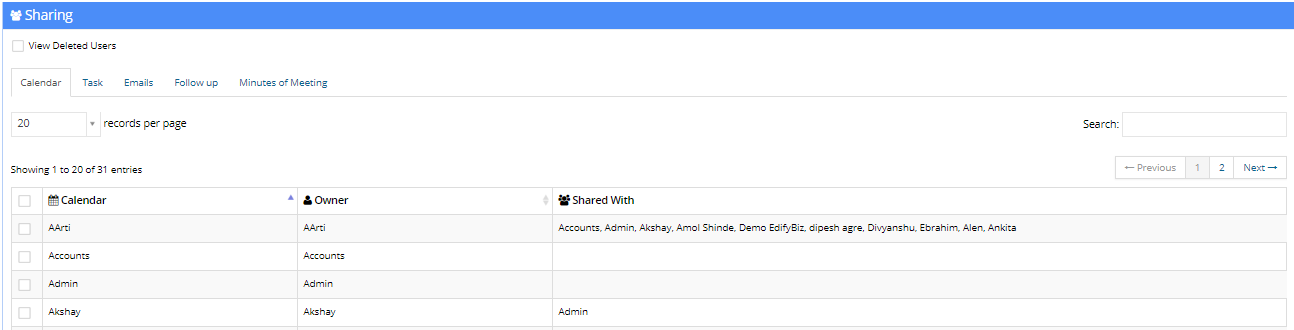
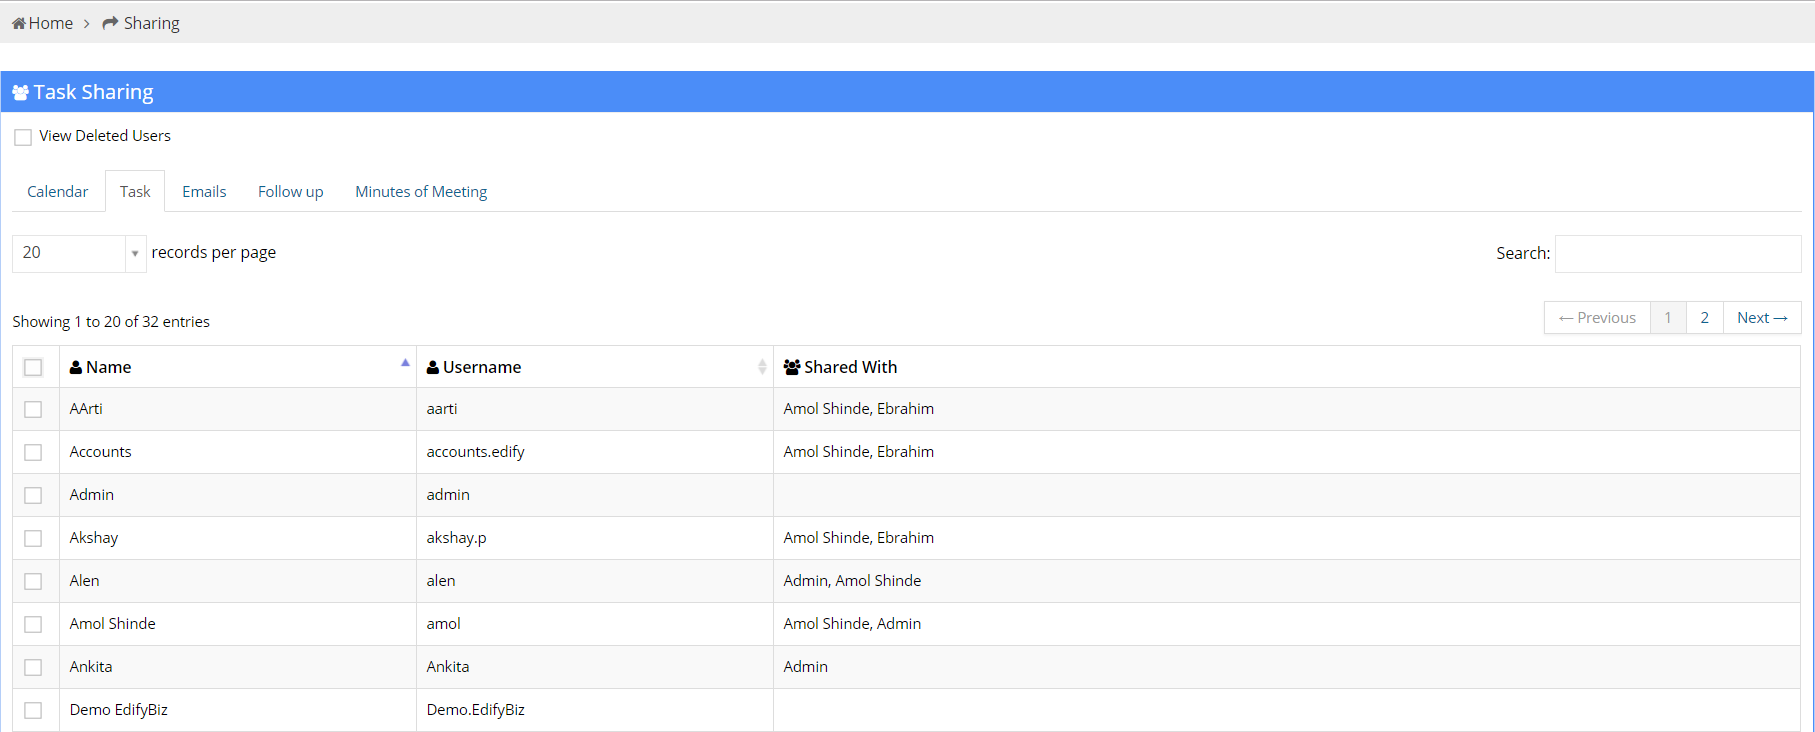
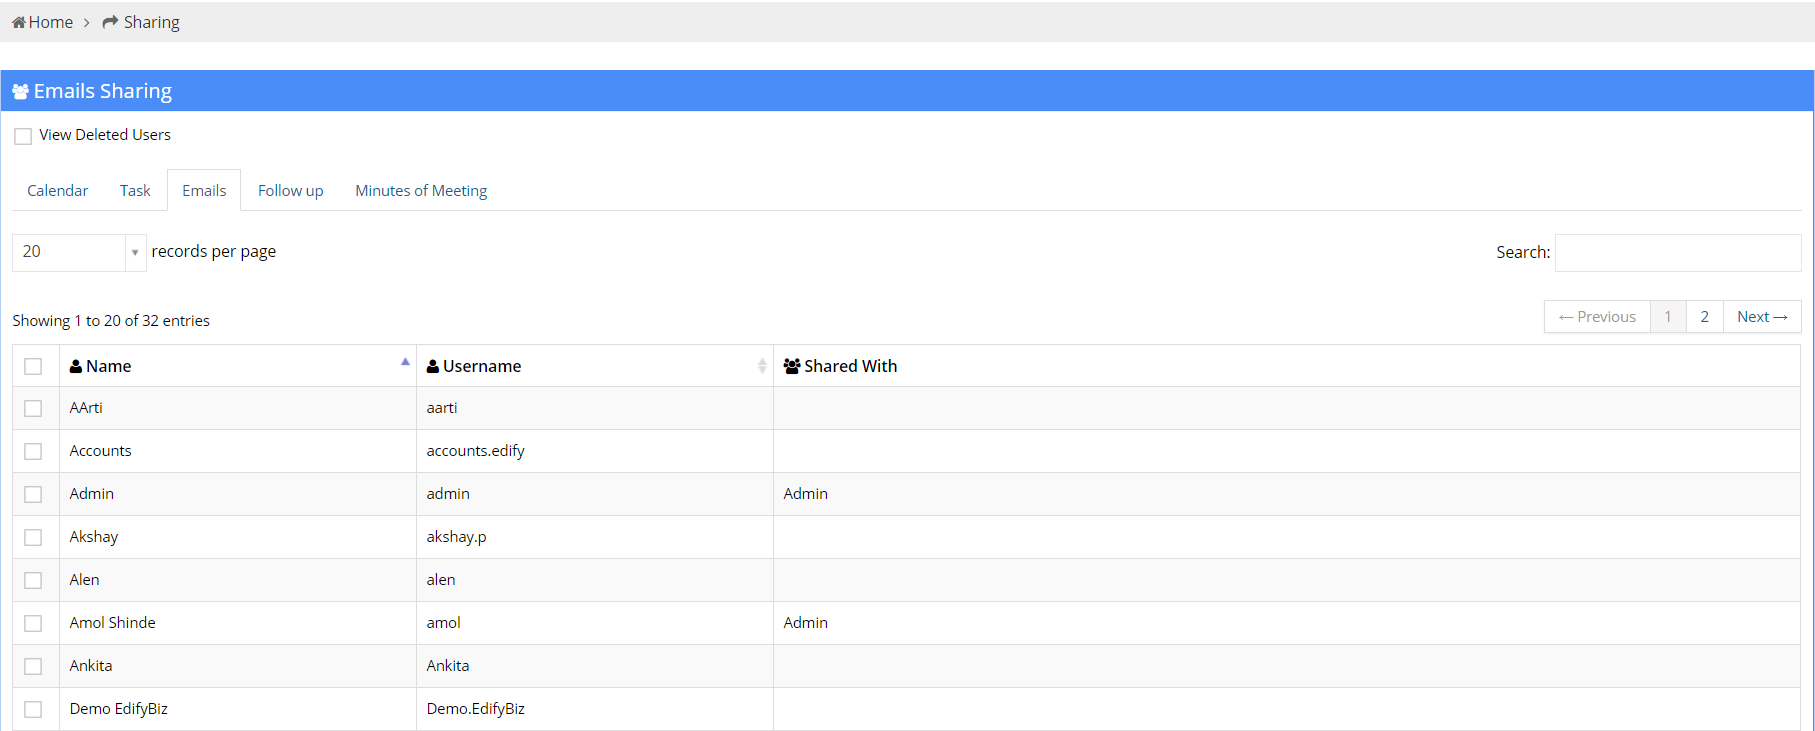
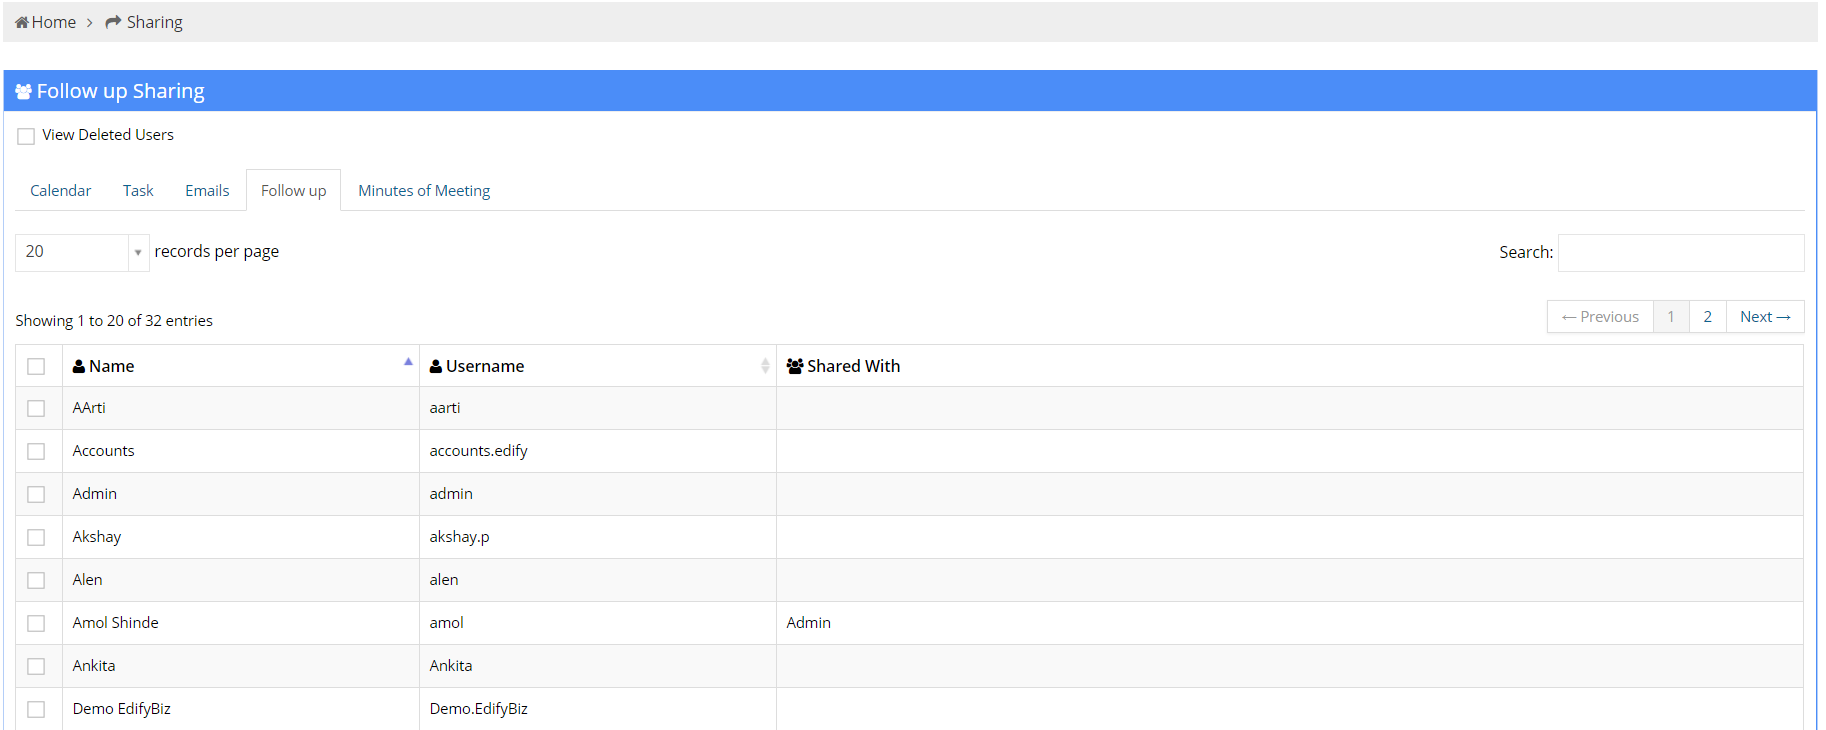
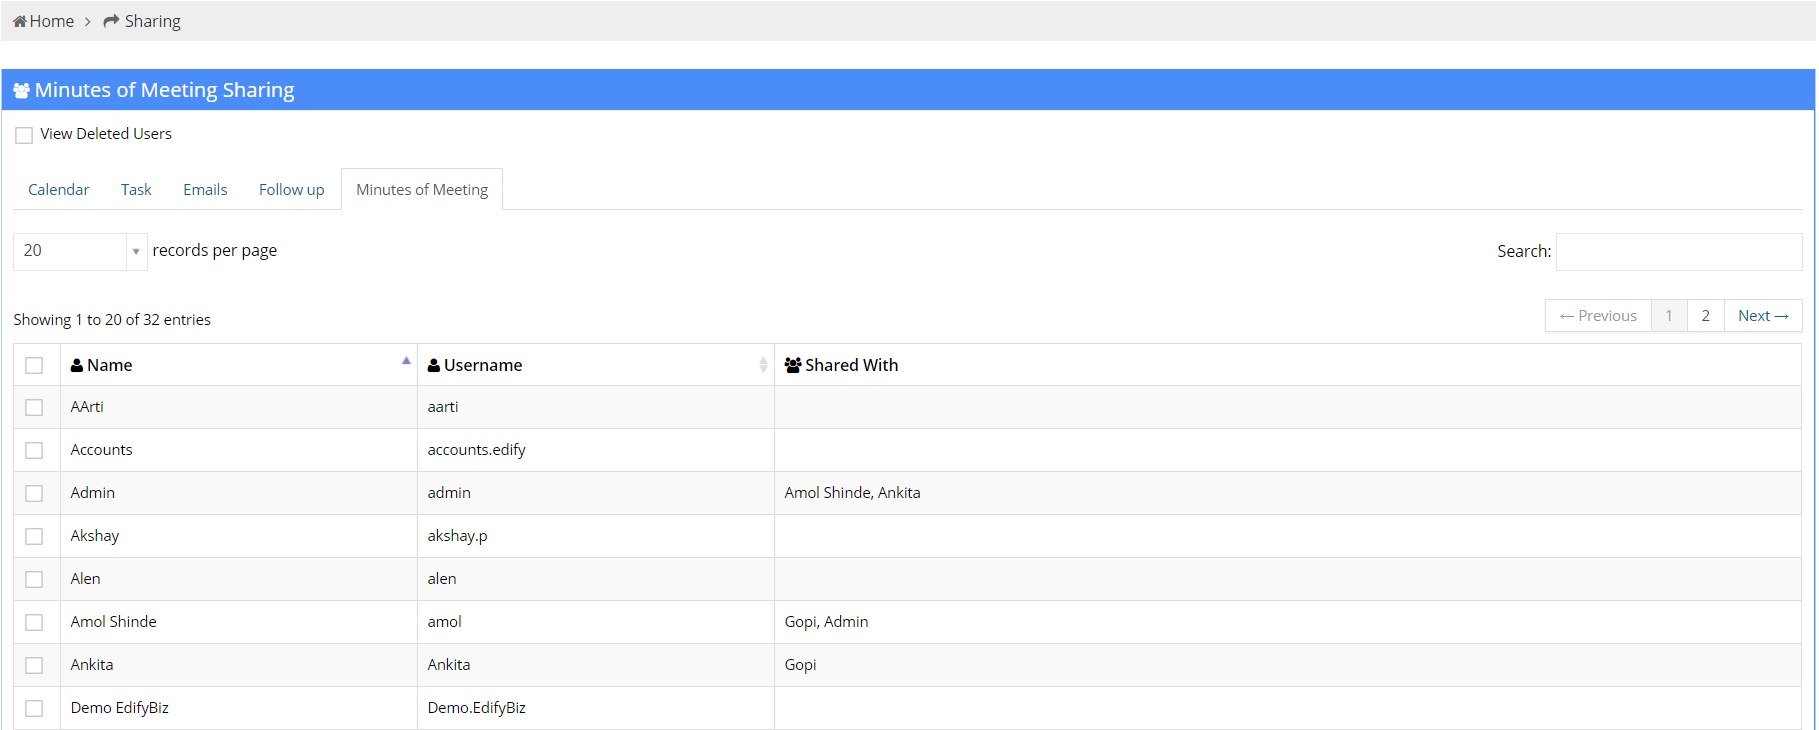
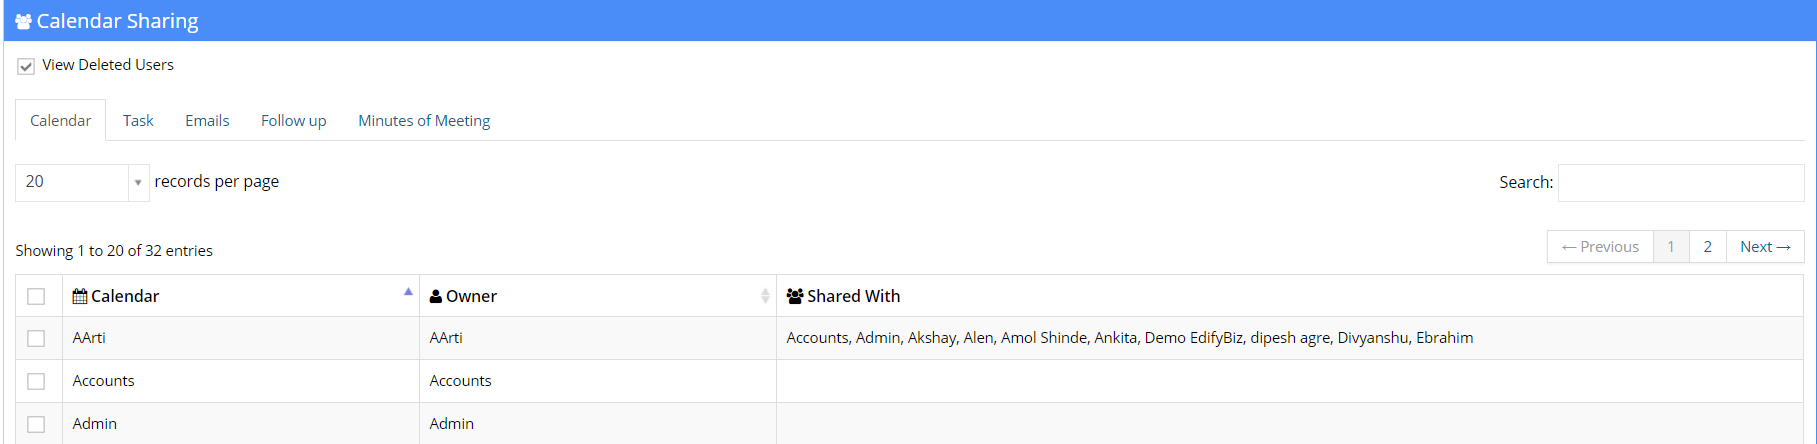
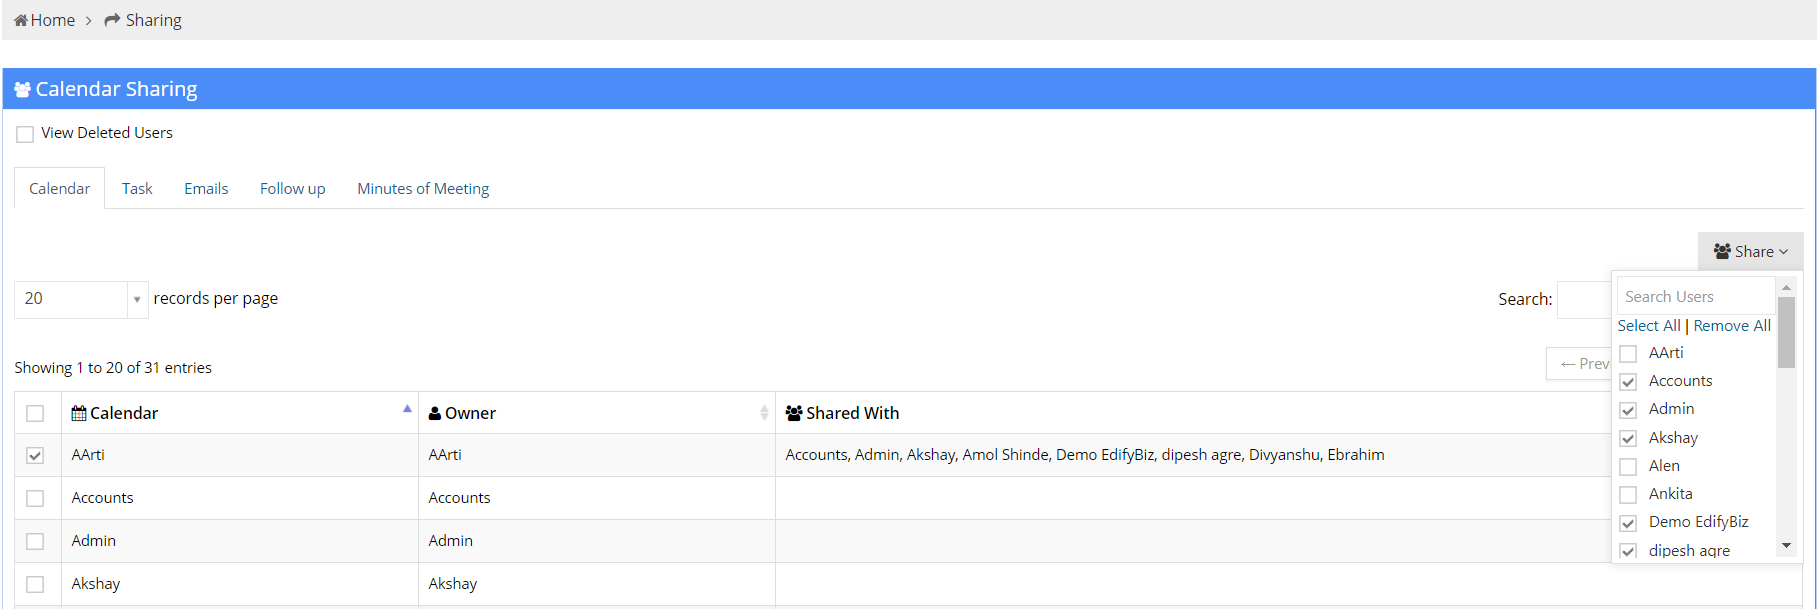
Sharing
To access the Sharing sub-module, click on Settings in the sidebar, a dropdown containing the submodules is displayed to the user. The user can use this dropdown to navigate to the Sharing sub-module.

- Name :This column displays the Name of the user.
- Username :This column displays the Username of the user.
- Shared with :This column displays the Name of the user with whom the Calendar, Task, Email, Follow Up or Minute of Meeting is to be shared.
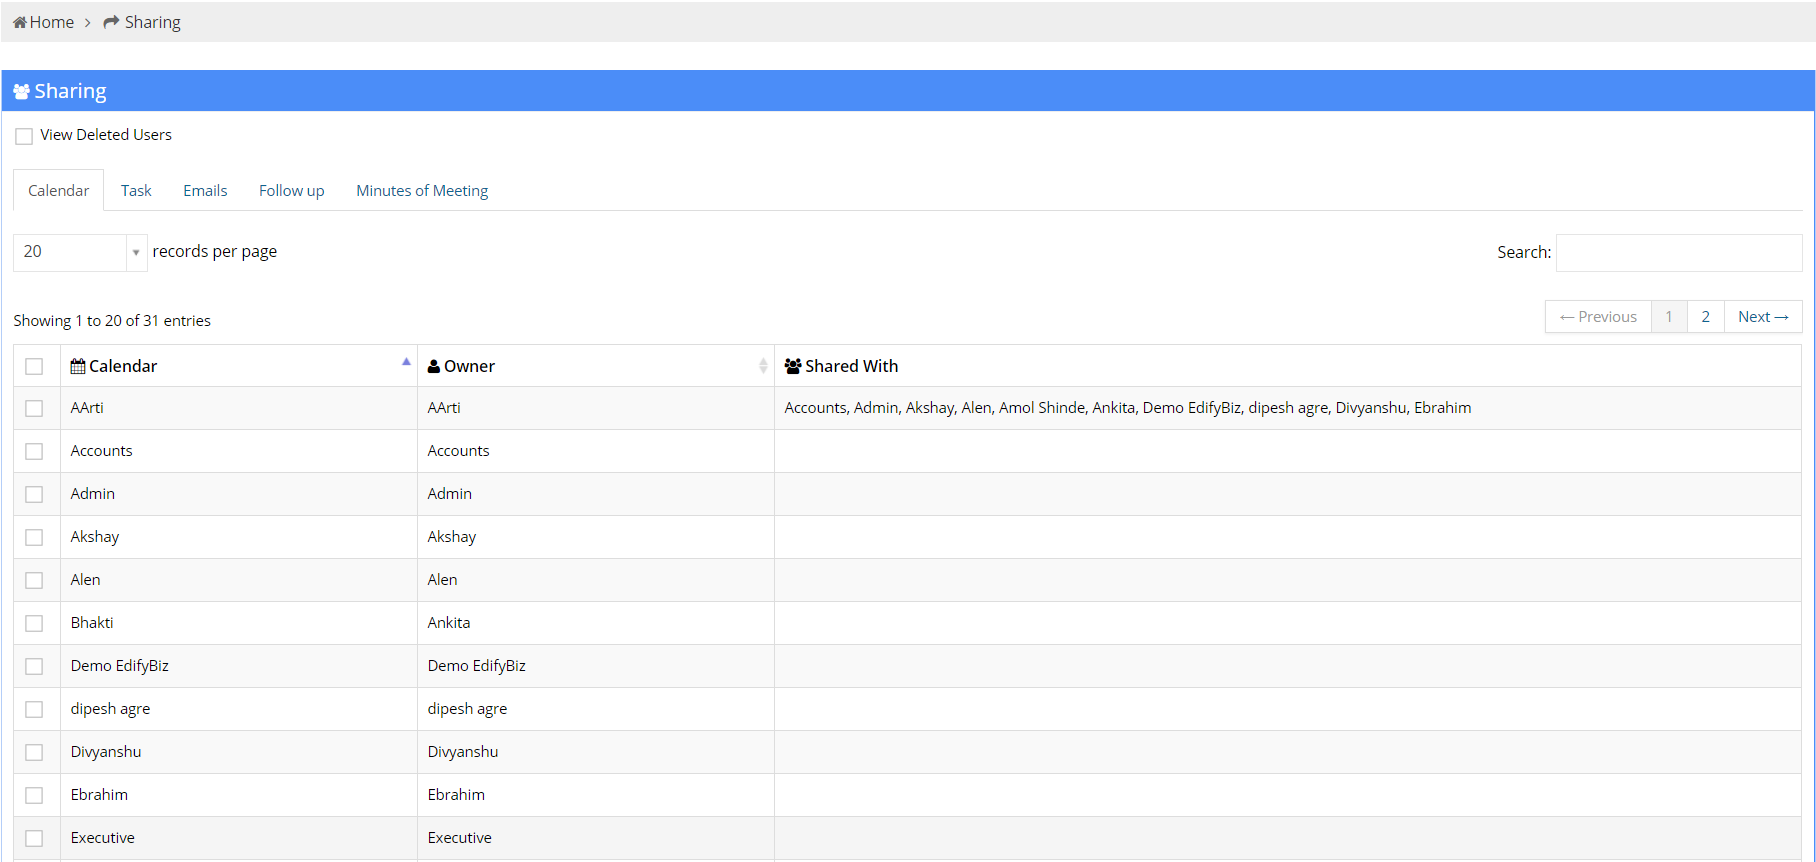
The sharing sub-module comprises of the following tabs:
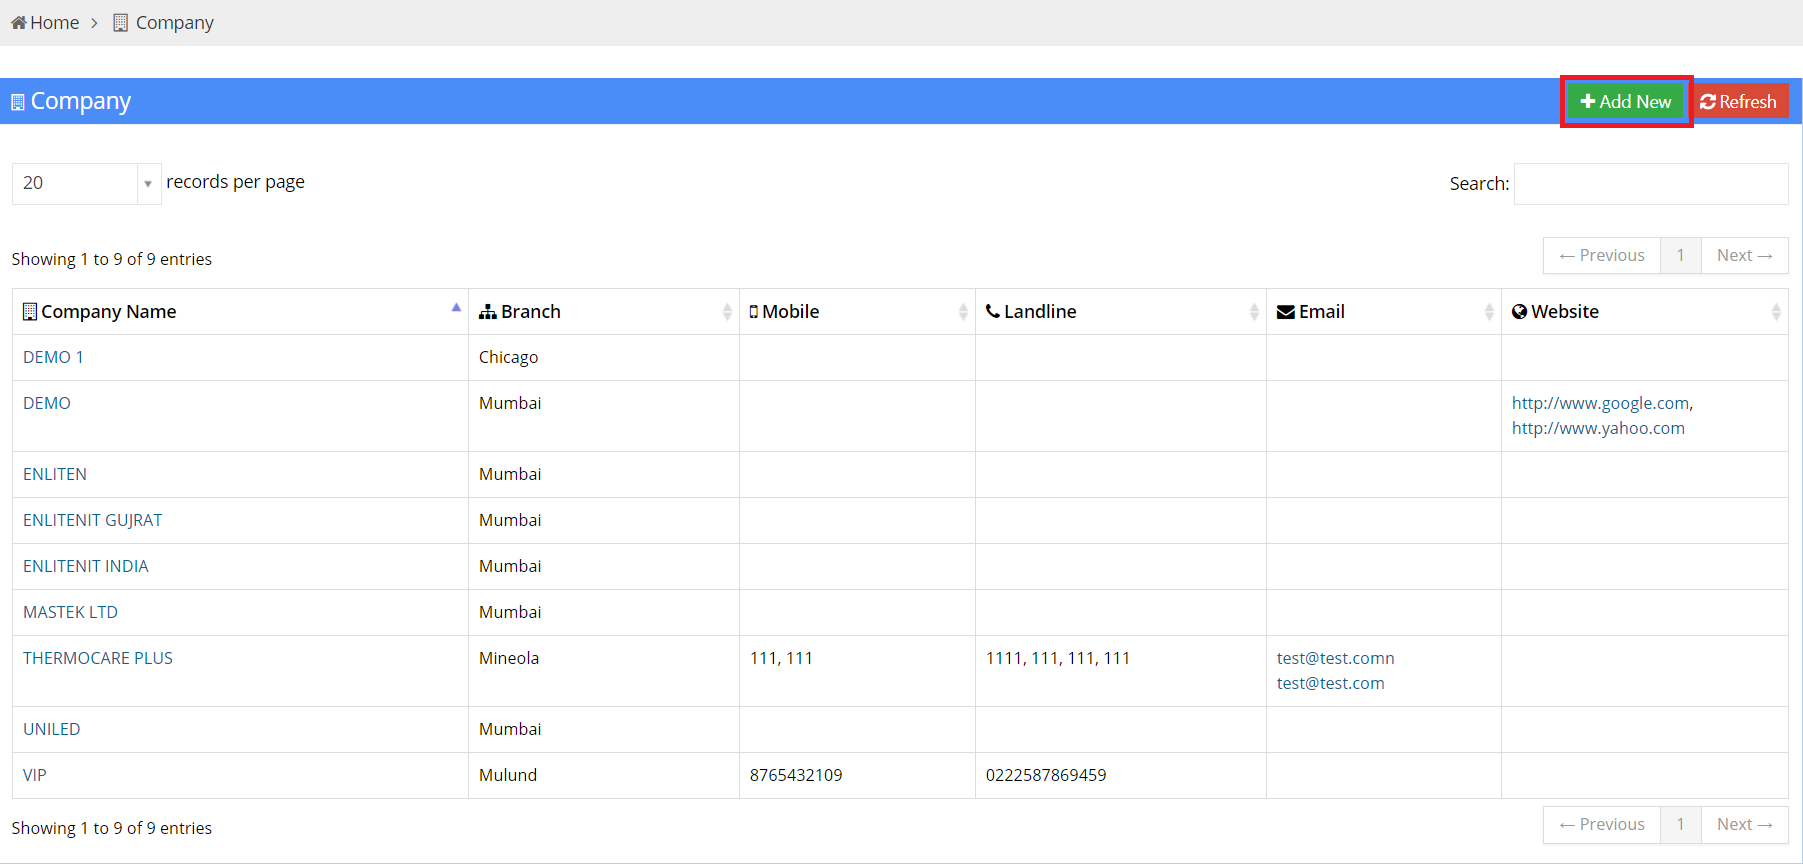
Company
To access the Company sub-module, click on Settings in the sidebar, a dropdown containing all the submodules will appear. The user can use this dropdown to navigate to the Company sub-module.

Company List
- Company Name : This column displays the Name of the company.
- Branch : This column displays the name of the branch where the company is located.
- Mobile : This column displays the mobile number of the company.
- Landline : This column displays the landline number of the company.
- Email : This column displays the email id of the company.
- Website : This column displays the website of the company.

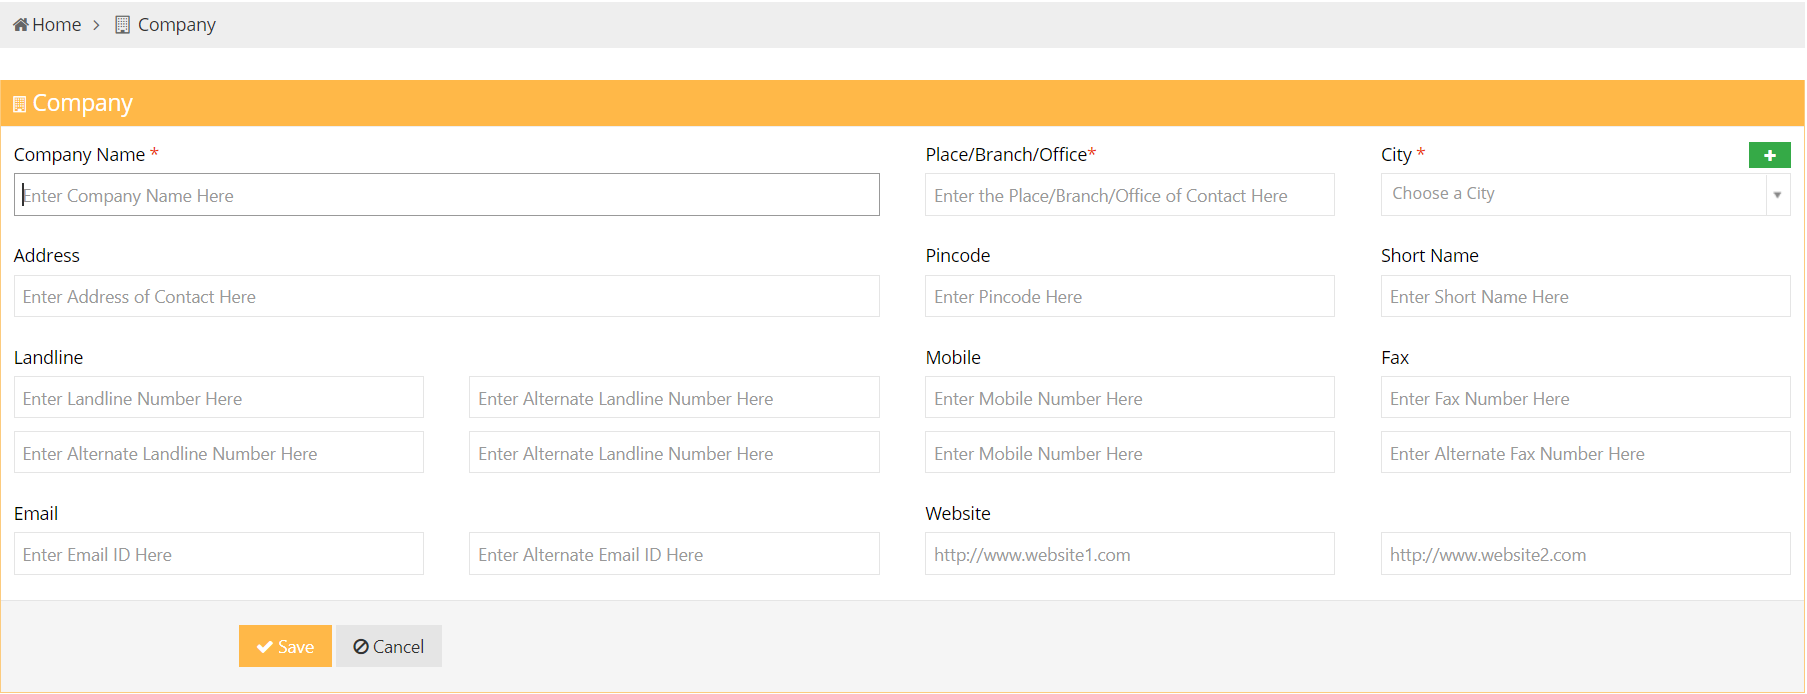
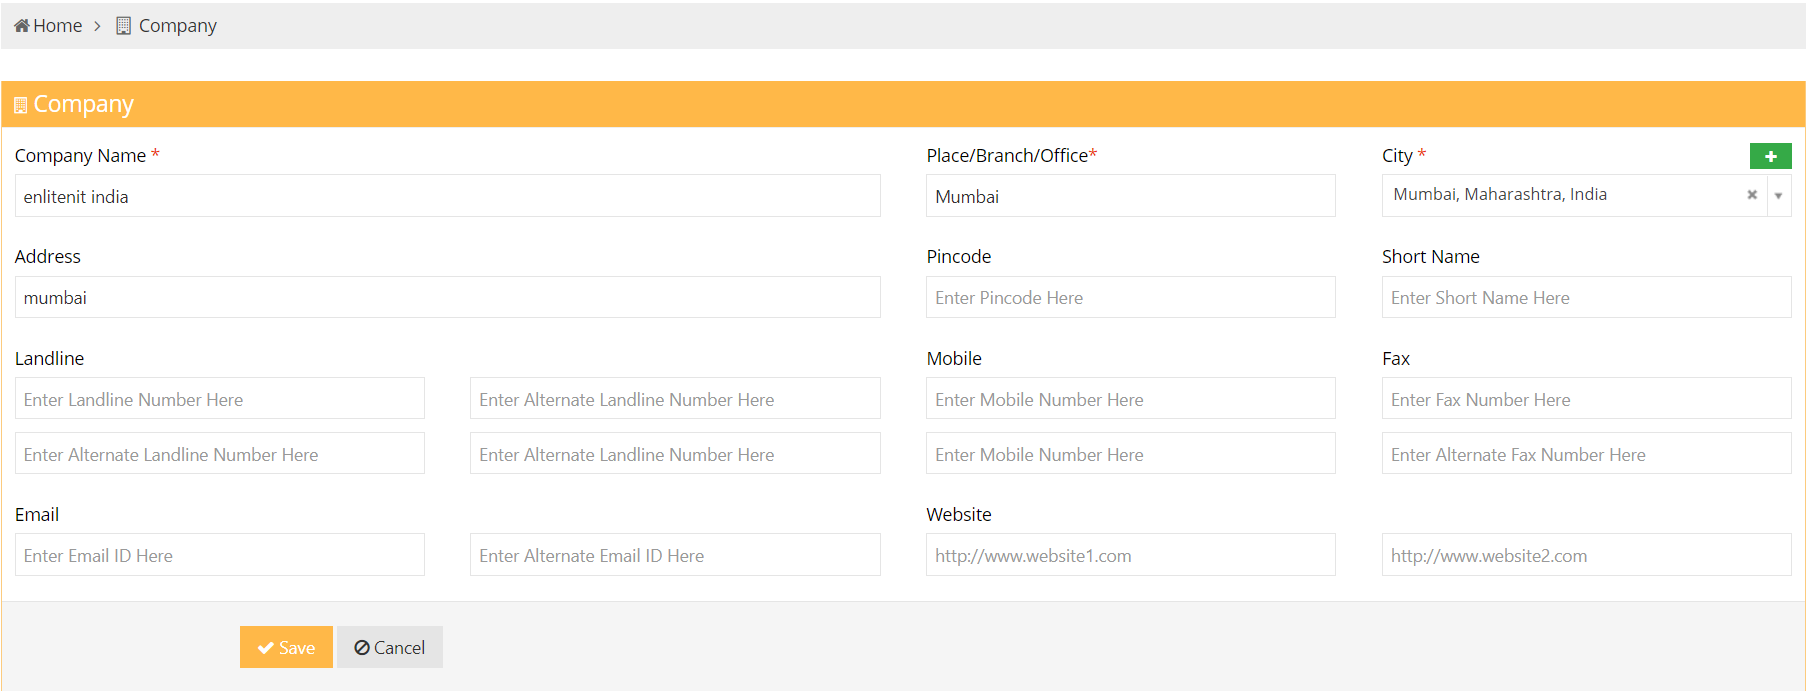
Add New Company
You can add a new company by clicking on the Add New button, which is located in the top right corner of company page.
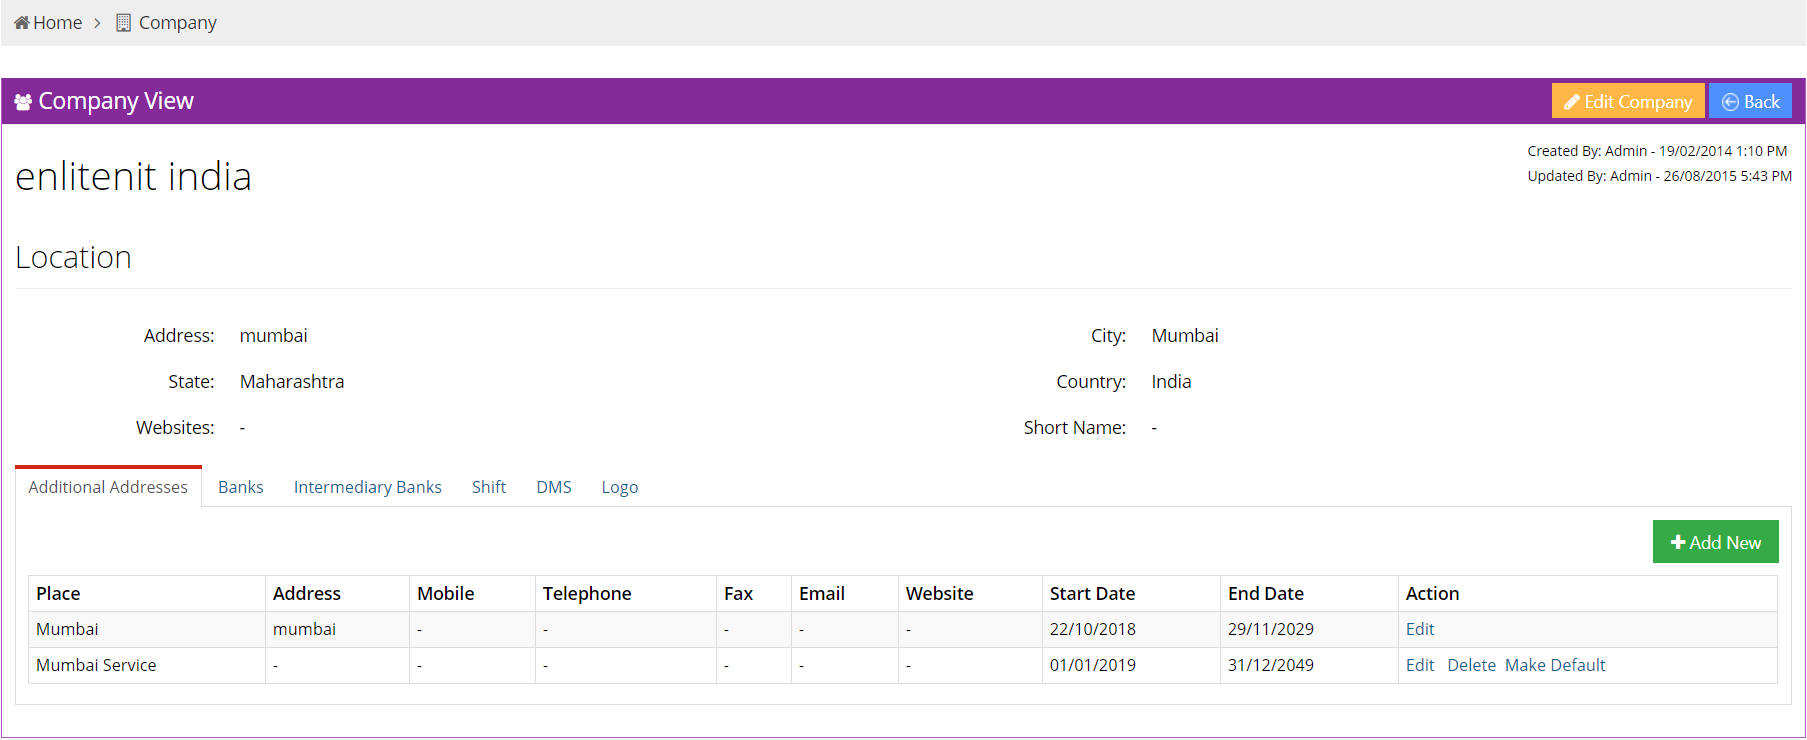
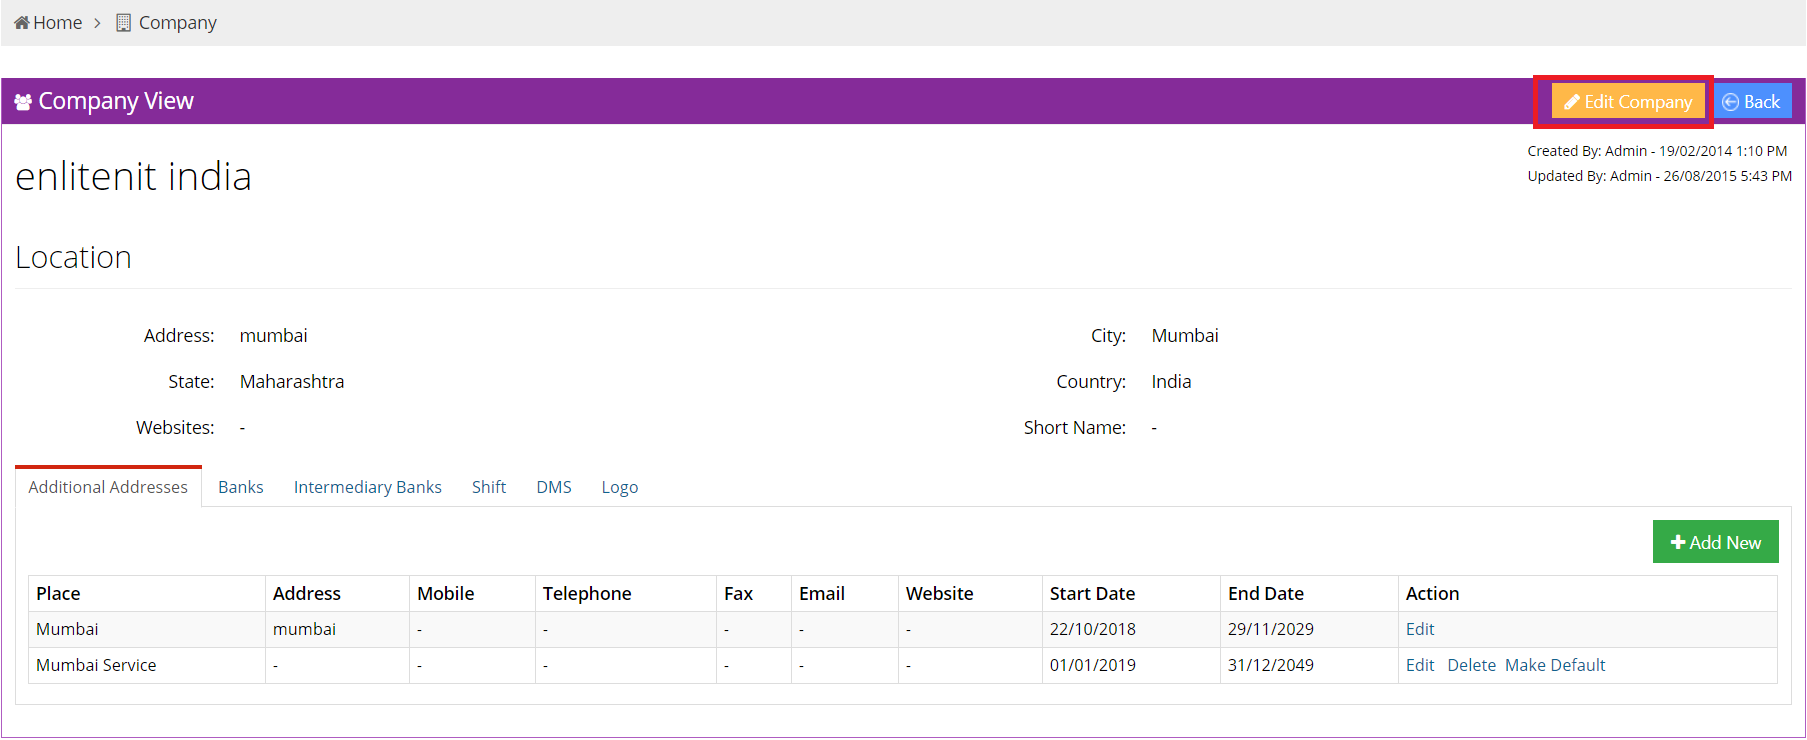
Company View
The new company view entry looks exactly like the below image.
You can edit company details by clicking on Edit Company button which is given in the top right corner of company view page.
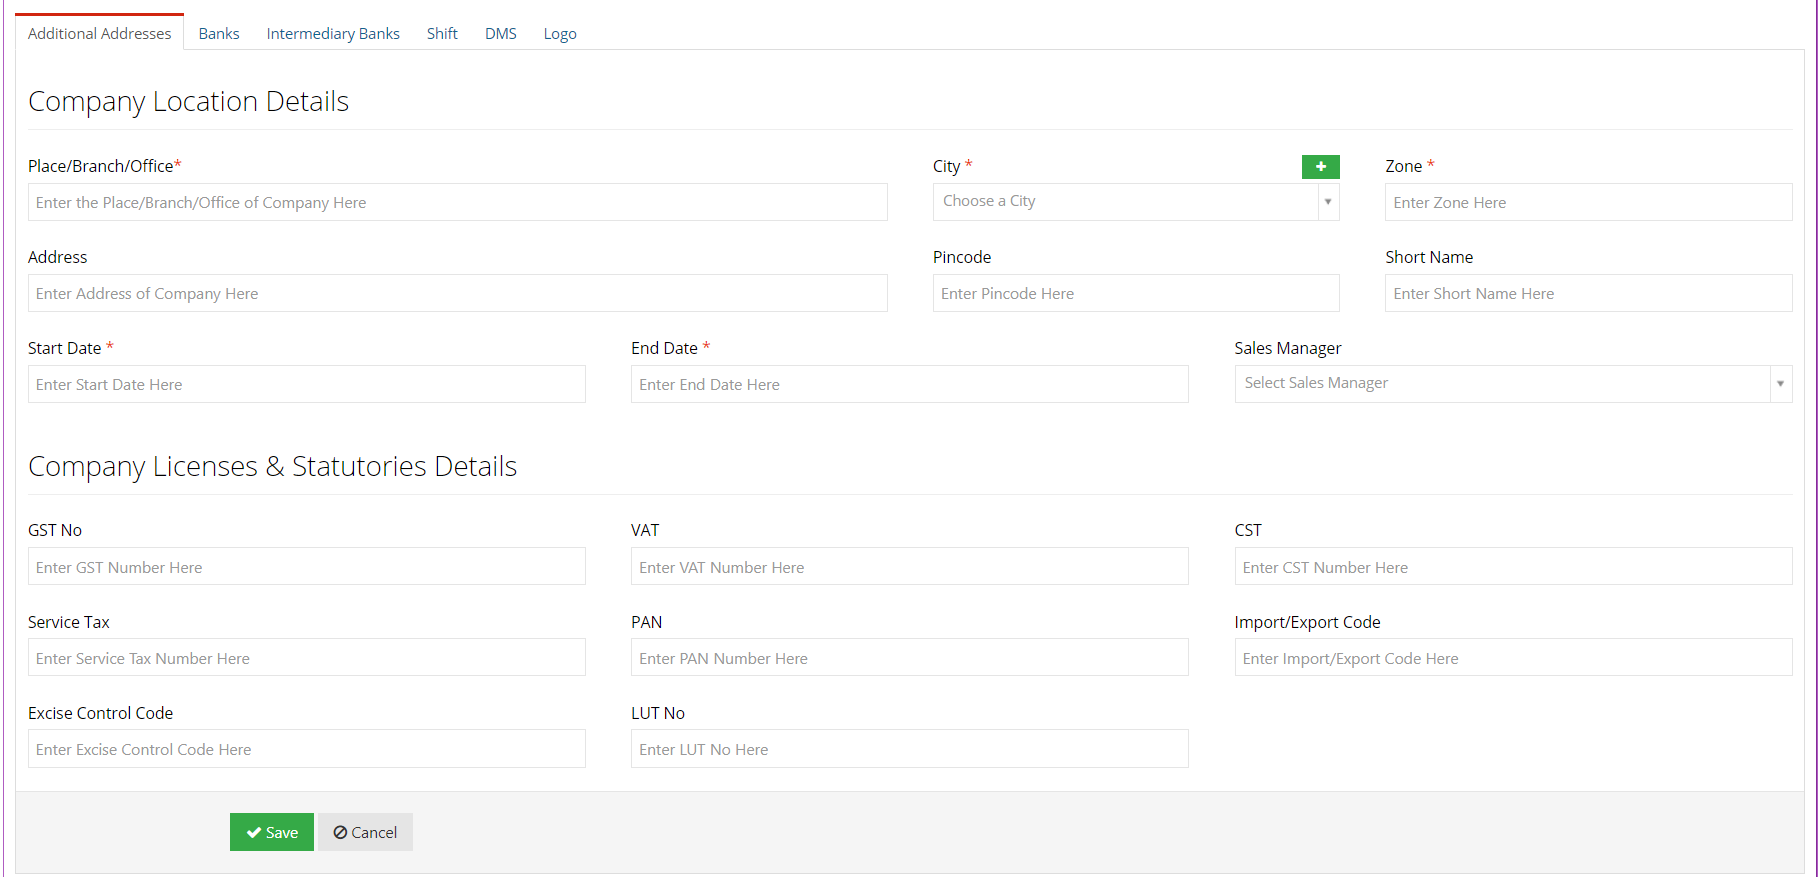
Additional Address
As shown in the image below, the list contains the following 10 columns:
- Place : This column displays the place where the company is located.
- Address : This column displays the Address where the company is located.
- Mobile : This column displays the mobile number of the company.
- Telephone : This column displays the telephone number of the company.
- Fax : This column displays the fax number of the company.
- Email : This column displays the Email id of the company.
- Website : This column displays the Website of the company.
- Start Date : This column displays the start date of the company.
- End Date : This column displays the end date of the company.
- Action : The Action column displays the different actions that can be taken on a additional address.

Actions
The three actions are as follows:
- Edit: Clicking on the Edit button enables the user to alter the details an address.
- Delete: Delete allows you to remove an address from the list.
- Make Default: Make default is used to set a address as the default address of the company.

Add New
You can enter an additional address by clicking on Add New button which is located in the top right corner of the additional address tab.

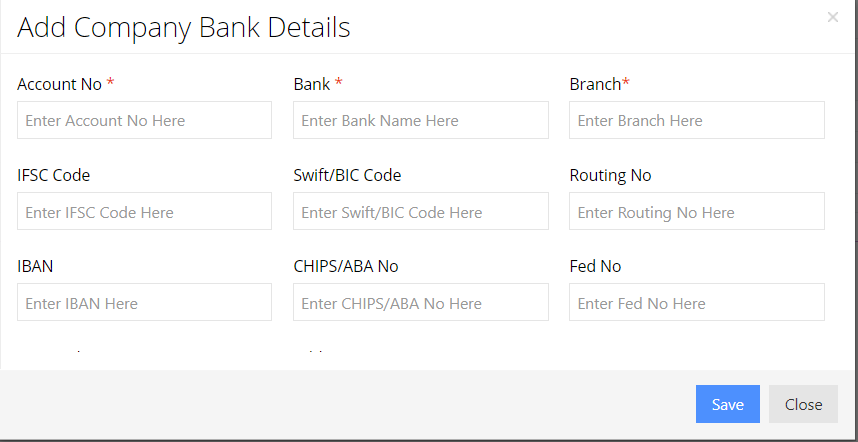
Bank Tab
- Company Branch : This column displays the branch of the company for which the account was opened.
- Account Number : This column displays the Account Number of the.
- Account Type: This column displays the Type of the account.
- Account Holder Name : This column displays the name of the holder of the account.
- Tally Name : This column displays the Tally Name of the company.
- Bank : This column displays the name of the Bank where the account was opened.
- Branch : This column displays the branch bank where the account was opened.
- IFSC Code : The column displays IFSC Code of the account.
- Opening Bal: The column displays Opening Balance of the account.
- Action : The Action column displays the different actions that can be taken.
Actions
The four actions are as follows:
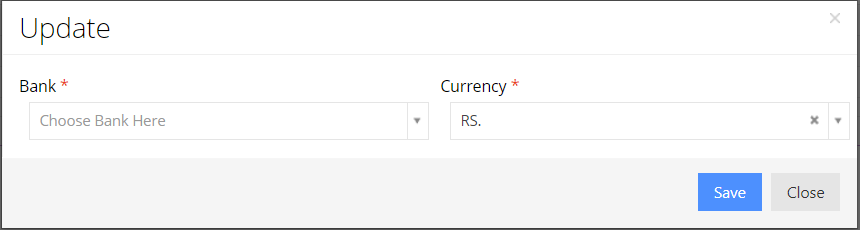
- Edit: Edit allows you to make changes to the banking details of the company.
- Delete: Delete allows you to remove a record from the list.
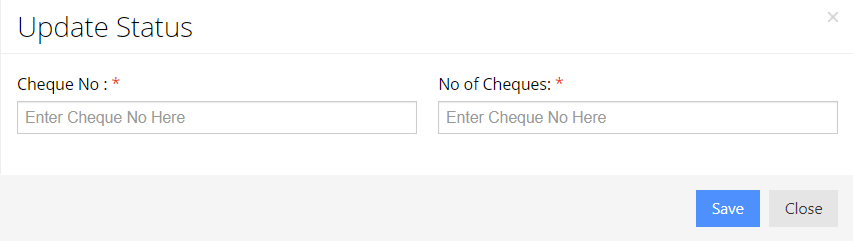
- Cheques: The user can edit the cheque details of the company by clicking on Cheques.
- Interms: The user can edit the intermediary bank details of the account by clicking on Interms.

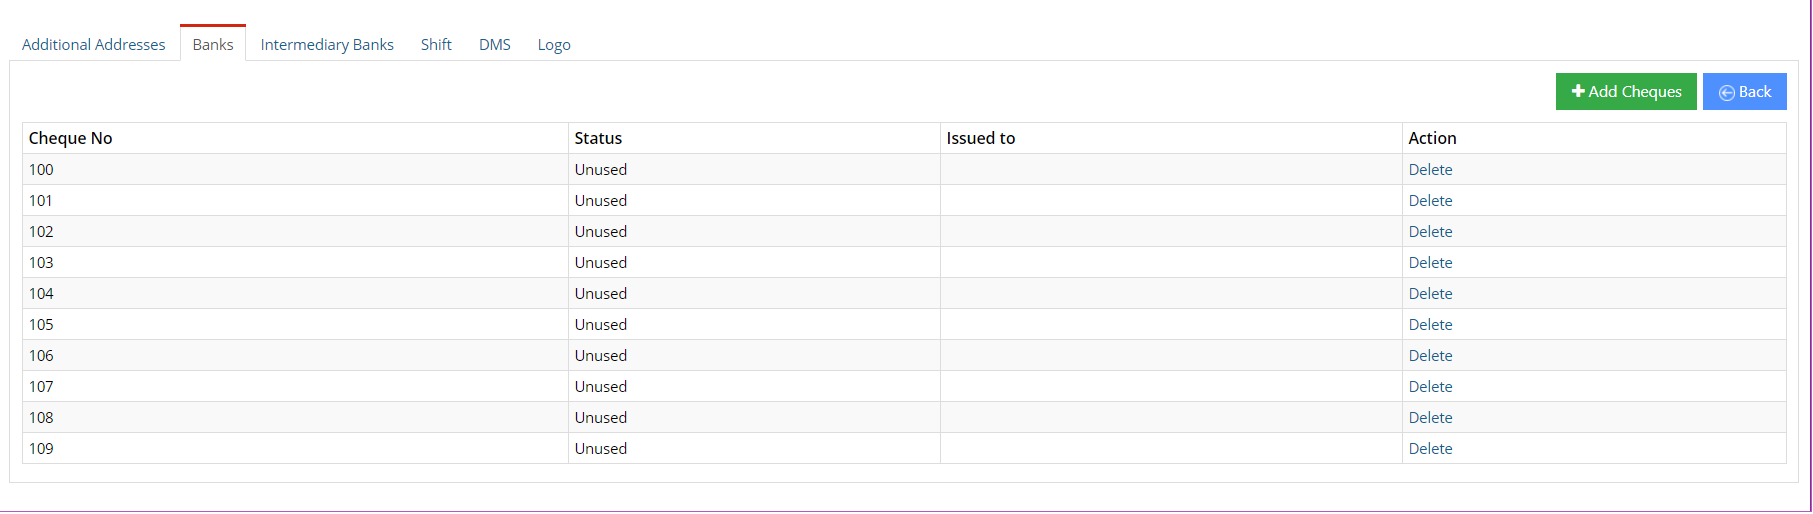
You can add new cheques by clicking on the Add Cheques button which is located in the top right corner of bank tab.

You can add a new Intermediary Bank by clicking on the Add Intermediary Bank button which is located in the top right corner of the bank tab.
Intermediary Banks Tab
- Account Number : This column displays the Account Number in the intermediary bank.
- Bank : This column displays the name of the intermediary bank
- Branch : This column displays the branch of the intermediary bank.
- IFSC Code : The column displays IFSC Code of the account.
- Routing No : This column displays the Routing No of the account.
- Action : The Action column displays the different actions that can be taken on a record.

Actions
The two actions are as follows:
- Edit: Edit allows you to change the details of the Intermediary Bank account.
- Delete: Delete allows you to remove intermediary bank accounts from the list.


Add Bank
You can add new intermediary bank details by clicking on Add Bank button, which is located in the top right corner of intermediary banks tab.

Shift Tab
- Branch Name :This column displays the Branch Name of the company.
- Shift Name :This column displays the Name of the shift.
- Minimum Hours :This column displays the Minimum Hours the employee needs to work in the shift.
- Grace Minutes:This column displays the Grace Minutes afforded to the employee working in the shift.
- Action :The Action column displays the different actions that can be taken on a shift.

Actions
The three actions are as follows:
- Edit: Edit allows you to make changes to the shift details.
- Delete: Delete allows you to remove a shift from the list.
- Shift Details: The user can view shift details in using this.

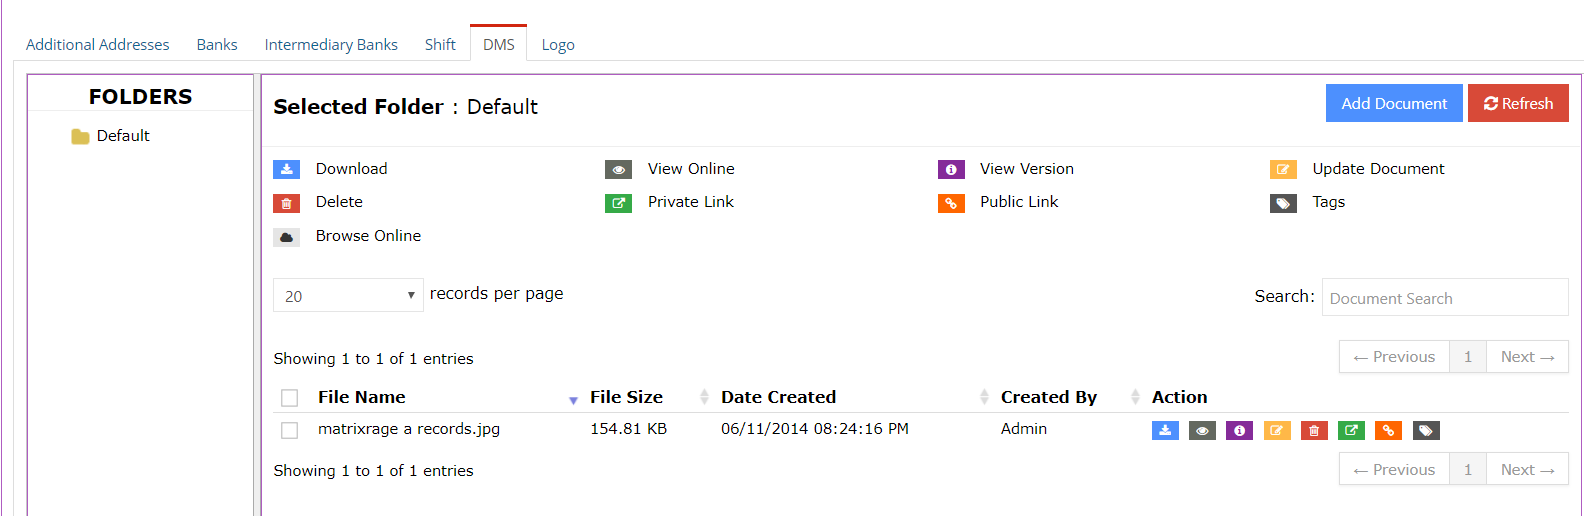
DMS Tab
The user can attach additional documents to a shift using Edifybiz's DMS functionality.
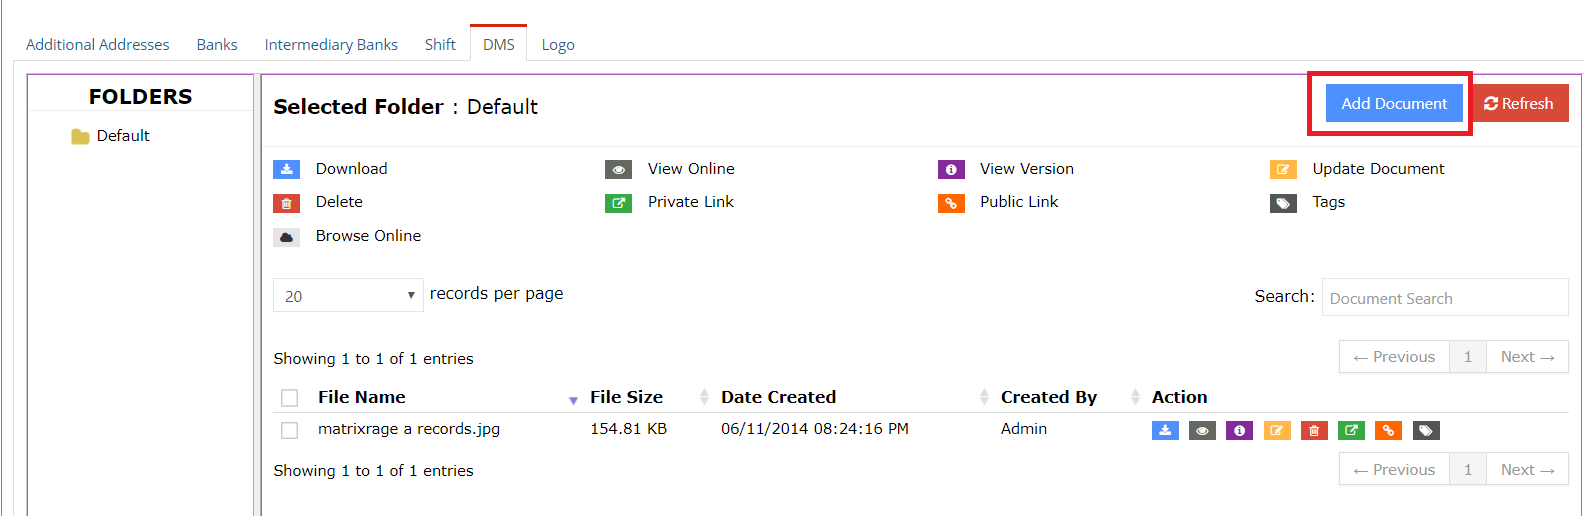
To add a new document, the user can click on the Add Document button and refresh the list of added documents by clicking on the Refresh button.
The user can navigate through different folders in the Folders column.
The details of a document include the File Name, the Size of the File, the Date of Creation and the user who created the document.
The actions that can be taken on a document include:
- Download: To download the document.
- View Online: This opens the document in a new tab.
- View Version: Allows the user to view previous versions of the document.
- Update Document: Allows the user to revise or update a document.
- Delete: Enables the user to delete a document.
- Private Link: This generates a link to the document. This document is password protected.
- Public Document: This generates a link to the document which can be viewed by anyone who posseses the link.
- Tags: This enables the user to add a tag to the document.
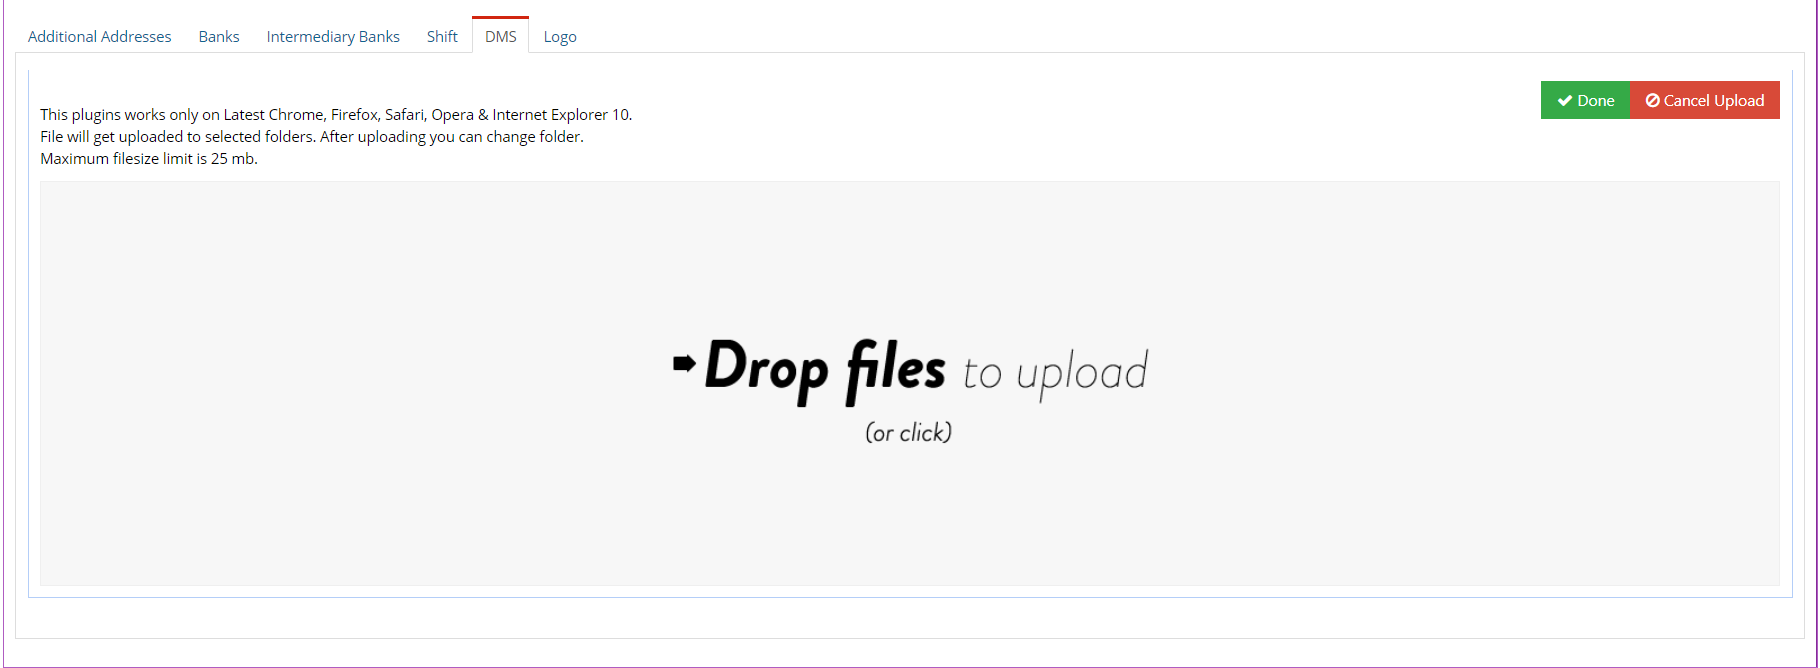
Add Document
You can add new document in the dms by clicking on Add Document button.
You can upload new document in the dms by clicking on done button the file will be uploaded.
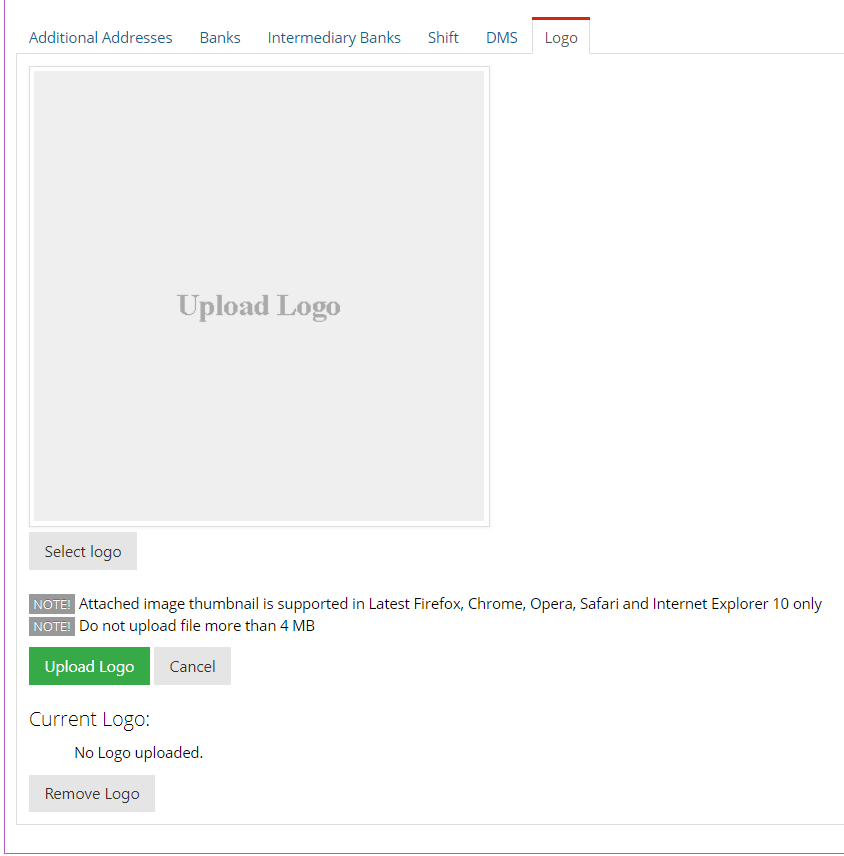
Logo Tab
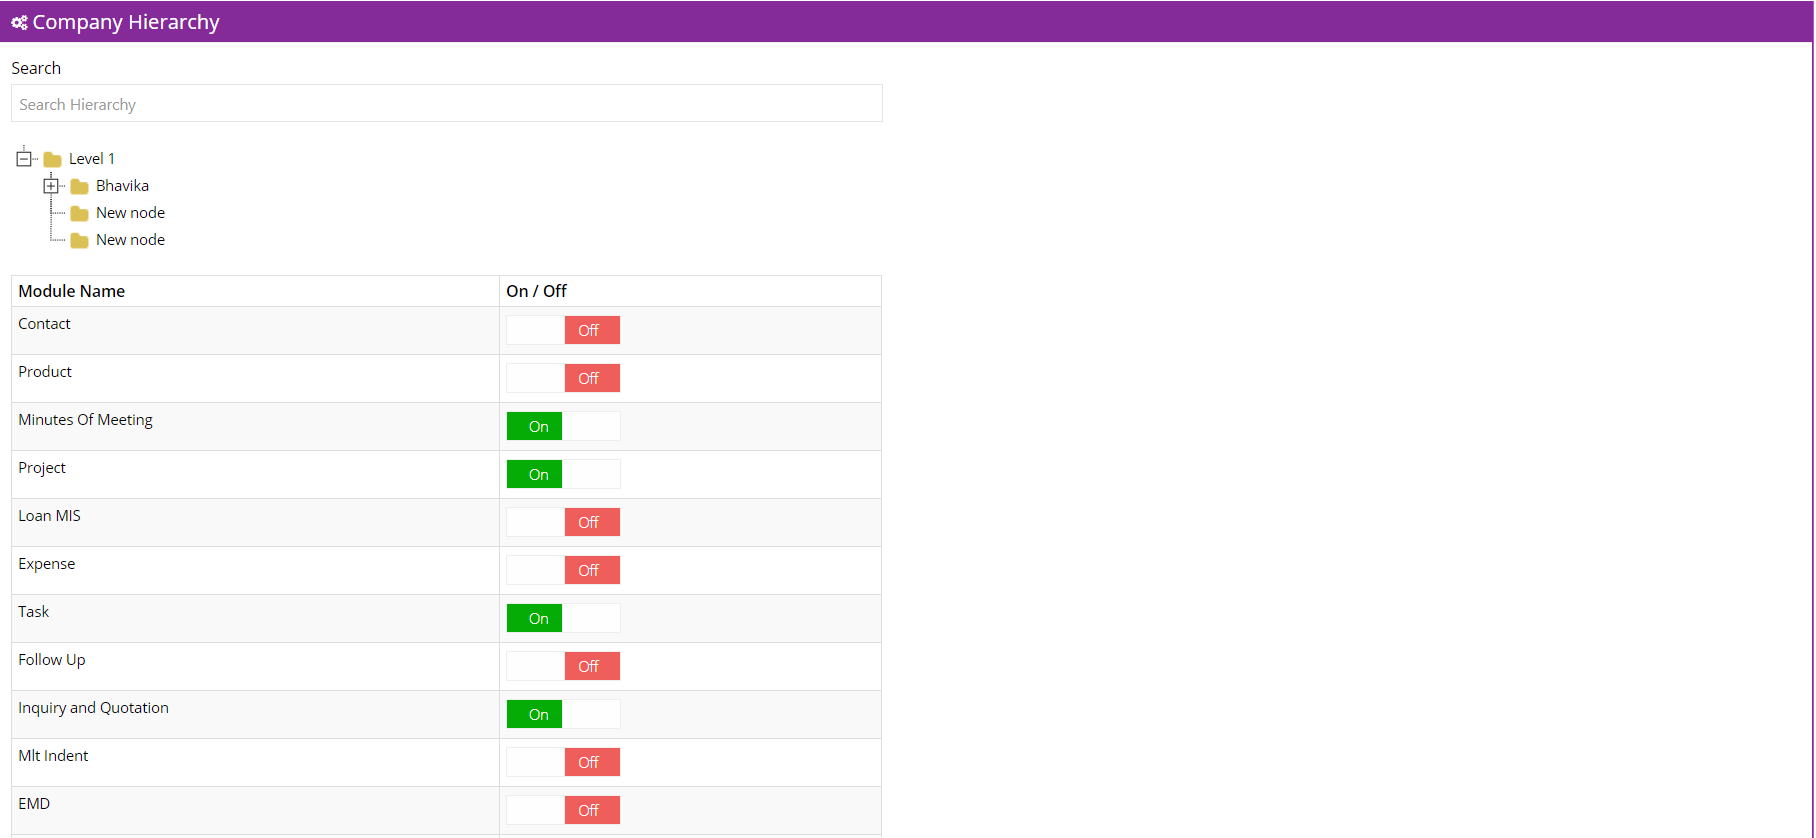
Hierarchy
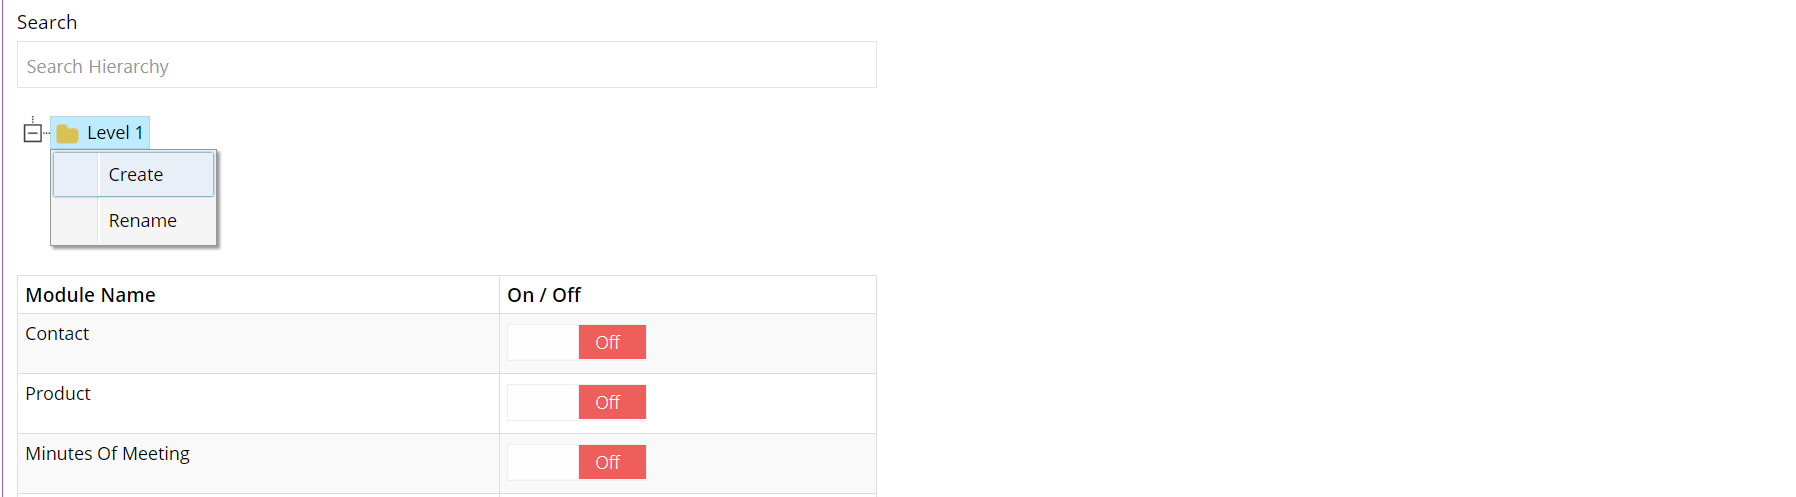
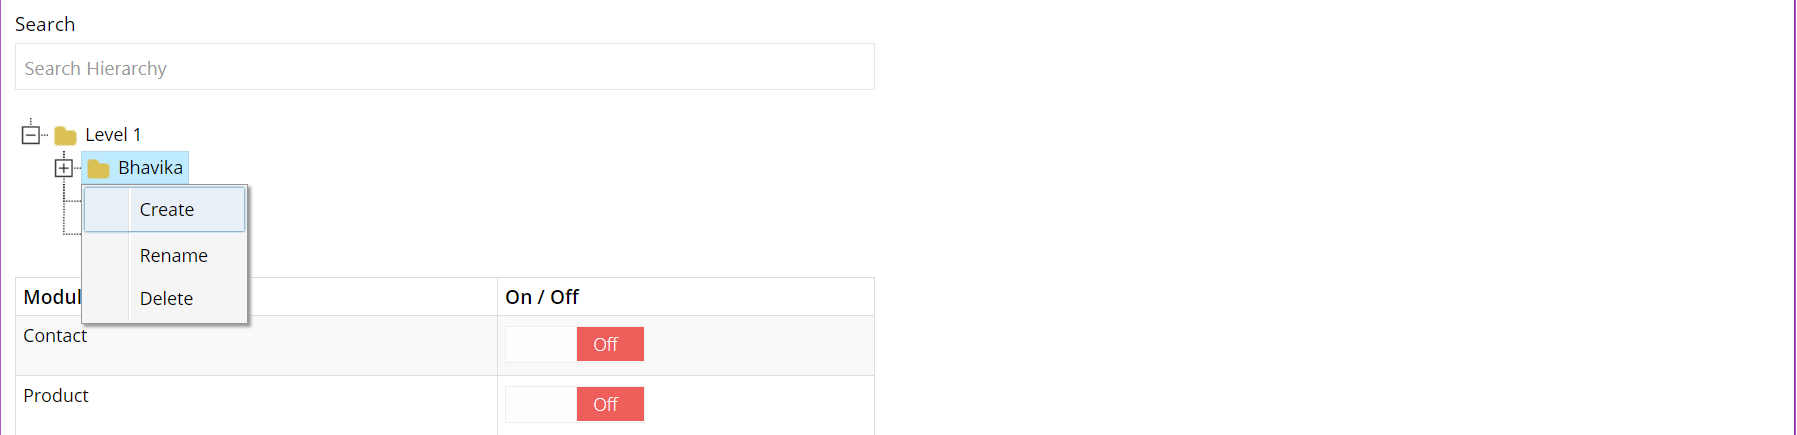
To access the Hierarchy sub-module, click on Setting in the sidebar, a dropdown containing the submodules will appear. The user can use this dropdown to navigate to the Hierarchy sub-module.
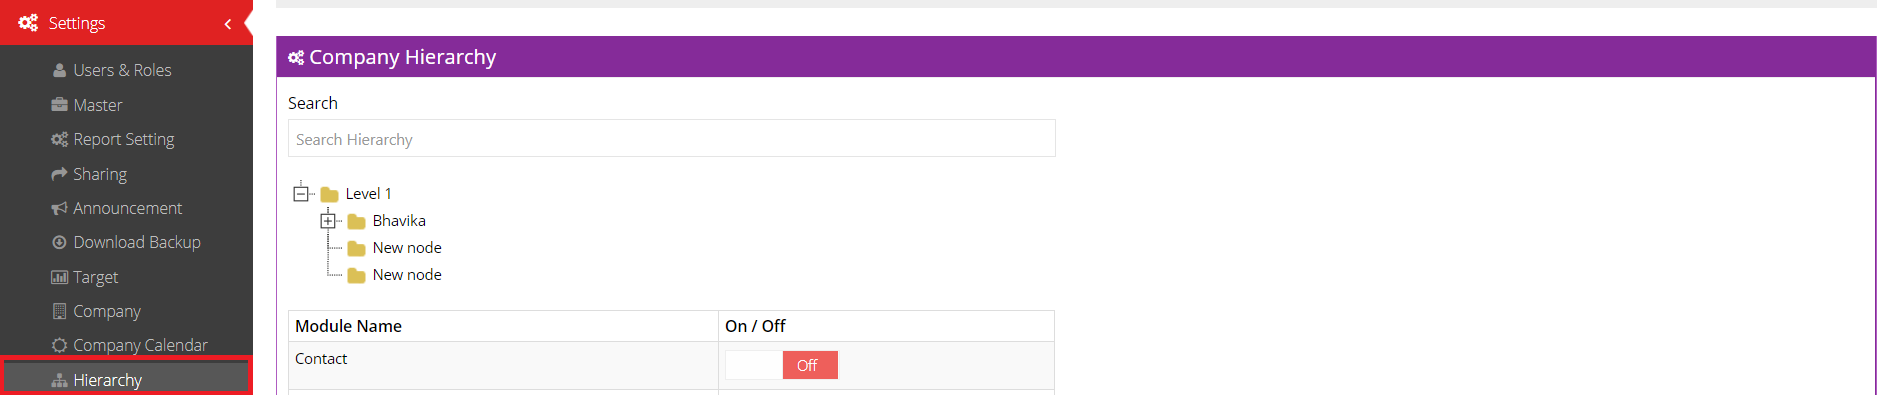
- Module Name : This column displays the Name of the module.
- On/Off : This column displays the on/off swtitch for the module.
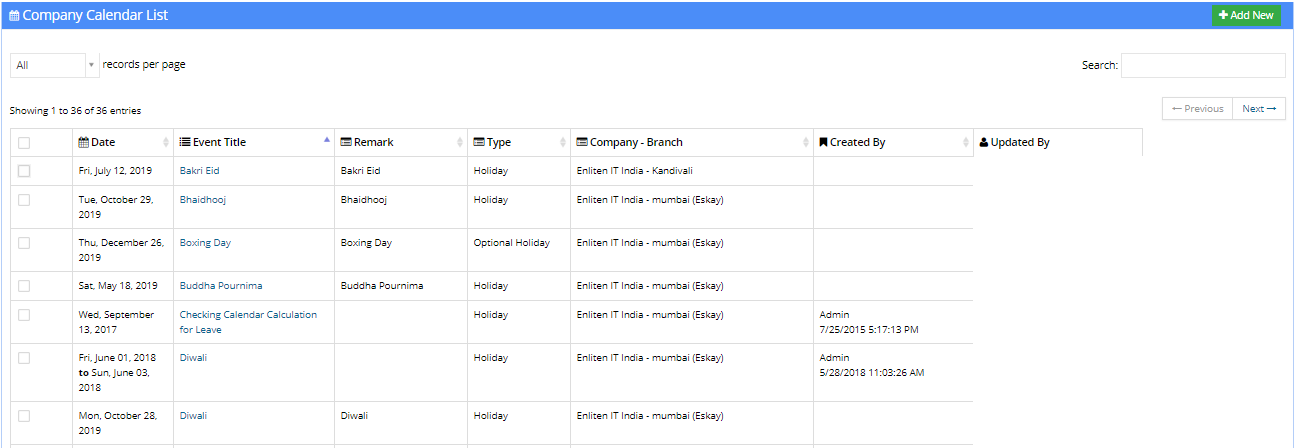
Company Calendar
To access the Company Calendar settings, click on Company Calendar in the Settings dropdown in the sidebar.
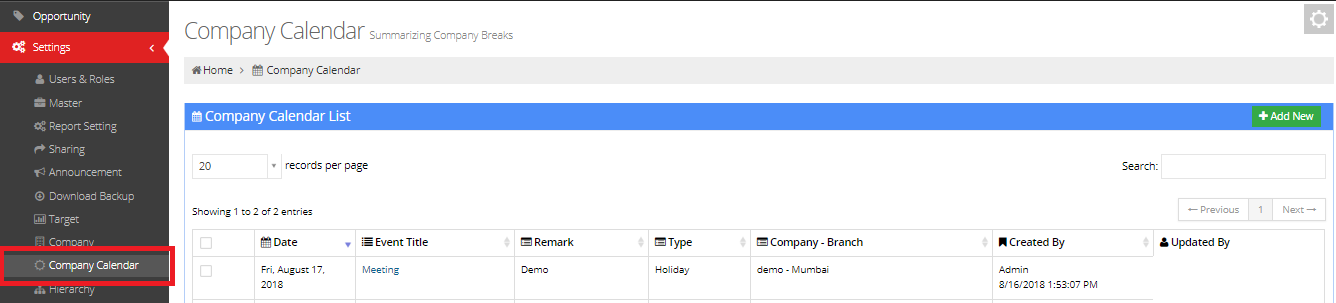
The user can look for a specific record using the search bar and vary the number of records per page using the dropdown in the top left corner.
The following columns can be viewed by the user in the listing:
- Date: This displays the date of the event.
- Event Title: This column displays the title of the event.
- Remark: This column displays a remark added to an event, describing it.
- Type: This column displays the type of event.
- Company-Branch: This column displays the company and the branch where the said event is applicable.
- Created By: This displays the name of the user who created that event.
- Updated By: This displays the name of the user who last updated that event.
Deleting an Event
To delete an event, tick the checkbox corresponding to the desired event to be deleted.
Following this, press the Delete button, located in the top right corner of the screen.

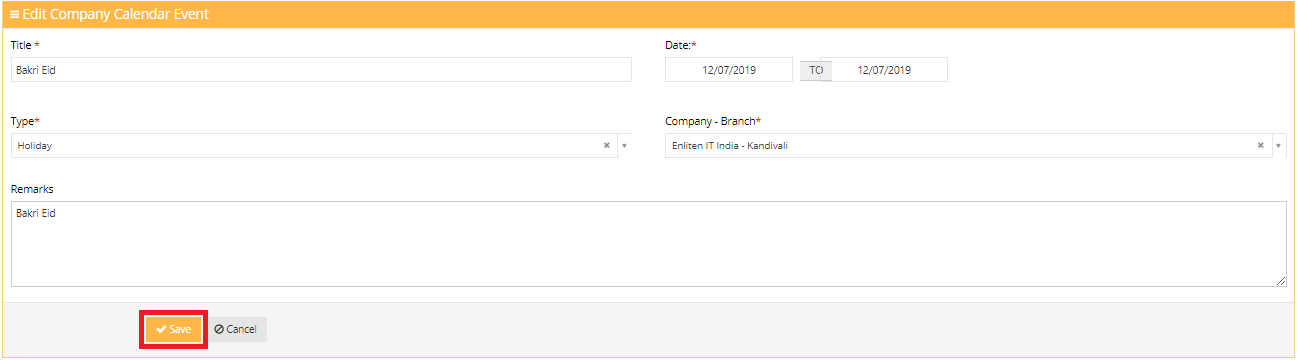
Editing an Event
To edit an event, click on the event title corresponding to the desired event to be edited.

After making necessary changes, press the Save button to save the changes.
Press the Cancel button to discard the changes and go back to the event listing.
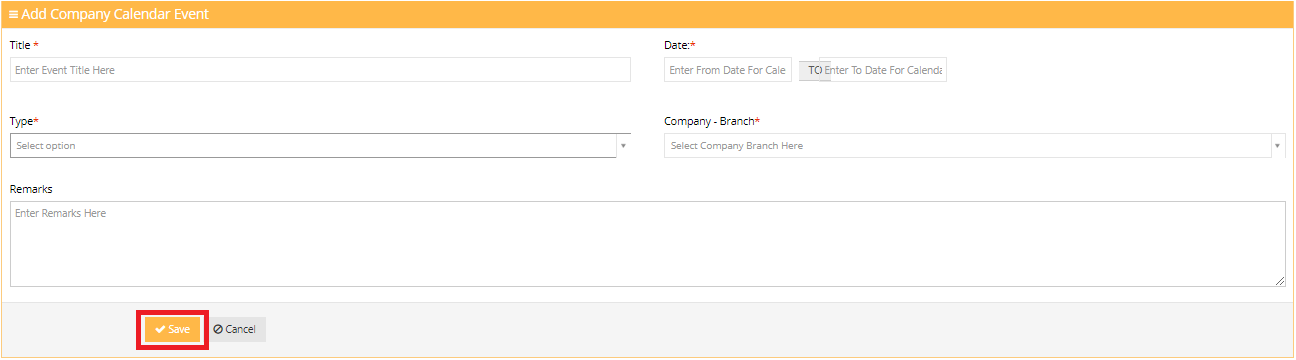
Add New Company Calendar Event
To add a new calendar event, press the Add New button, located in the top right corner of the screen.

The following fields need to be entered by the user:
- Title: The event title is to be entered in this field
- Date: The user picks the date range of the event by entering the from date and the to date of the event.
- Type: The user selects the type of event in this field.
- Company-Branch: The user has to select the company and the branch where the event is applicable in this field.
- Remarks: The user enter additional remarks to an event in this field. The remarks could provide a description for the event.
After entering necessary details, press the Save button to add the event to the company calendar.
Press Cancel to go back to the list without adding the event.